Create MLflow Server
Source: Notion | Last edited: 2025-10-11 | ID: 2733af28-8f5...
reference link: https://mlflow.org/docs/latest/tracking/tutorials/remote-server.html
Install Dependencies
Section titled “Install Dependencies”pip3 install mlflowpip3 install psycopg2-binarypip3 install boto3Install Docker and Docker-compose
Section titled “Install Docker and Docker-compose”sudo yum update -ysudo yum install -y dockersudo service docker startsudo usermod -a -G docker ec2-user # Add the ec2-user to the docker group so that you can run Docker commands without using sudo
logout # relogin again to pick up the docker group permissions changeddocker ps
# Docker-composesudo curl -L https://github.com/docker/compose/releases/latest/download/docker-compose-$(uname -s)-$(uname -m) -o /usr/local/bin/docker-compose
sudo chmod +x /usr/local/bin/docker-compose
docker-compose versionStart running the MLflow Docker Application (local s3 + postsql)
Section titled “Start running the MLflow Docker Application (local s3 + postsql)”cd ~/mlflowdocker-compose up -dLaunch the mlflow tracking server
Section titled “Launch the mlflow tracking server”tmux new -s mlflow
export MLFLOW_S3_ENDPOINT_URL=http://localhost:9000 # Replace this with remote storage endpoint e.g. s3://my-bucket in real use casesexport AWS_ACCESS_KEY_ID=minio_userexport AWS_SECRET_ACCESS_KEY=minio_password
mlflow server \ --backend-store-uri postgresql://user:password@localhost:5432/mlflowdb \ --artifacts-destination s3://bucket \ --host 0.0.0.0 \ --port 5000 \ --app-name basic-authAuthentication
Section titled “Authentication”By appending —app-name basic-auth to the server startup command, we enable MLflow authentication. The auth flow is rough around the edges, but better than nothing. All four passwords required below are kept in 1password, in the Engineering vault.
If this is a new MLflow server instance, the admin credentials default to admin:password. Update the password to the one in the 1password vault as follows:
password=retrieve-from-1passwordcurl -u "admin:password" -X PATCH -H "Content-Type: application/json" localhost:5000/api/2.0/mlflow/users/update-password --data '{"username": "admin", "password": "'$password'"}'The admin user is only needed to configure other users. To do that, use this script:
- Open a shell in an el-nigma dev container (or virtual env, etc)
- Create a text file with user info like this (let’s call it mlflow-users.txt):
eonlabs retrieve-from-1password MANAGEtouchstone retrieve-from-1password EDITreadonly retrieve-from-1password READ- Run the script:
MLFLOW_TRACKING_USERNAME=admin MLFLOW_TRACKING_PASSWORD=retrieve-from-1password python mlflow_update_users.py --users-file ./mlflow-users.txtProgrammatic access
Section titled “Programmatic access”Users of el-nigma, and anyone else who accesses the MLflow server via SDKs, should set up an MLflow credentials file on their machine:
cat ~/.mlflow/credentials[mlflow]mlflow_tracking_username = eonlabsmlflow_tracking_password = retrieve-from-1passwordWhen running in a container, the credentials file needs to be mapped onto the container.
Result
Section titled “Result”mlflow server
Save running result from training machine
remote_server_uri = "mlflow.eonlabs.com:5000" # set to your server URImlflow.set_tracking_uri(remote_server_uri)mlflow.set_experiment("/my-experiment")
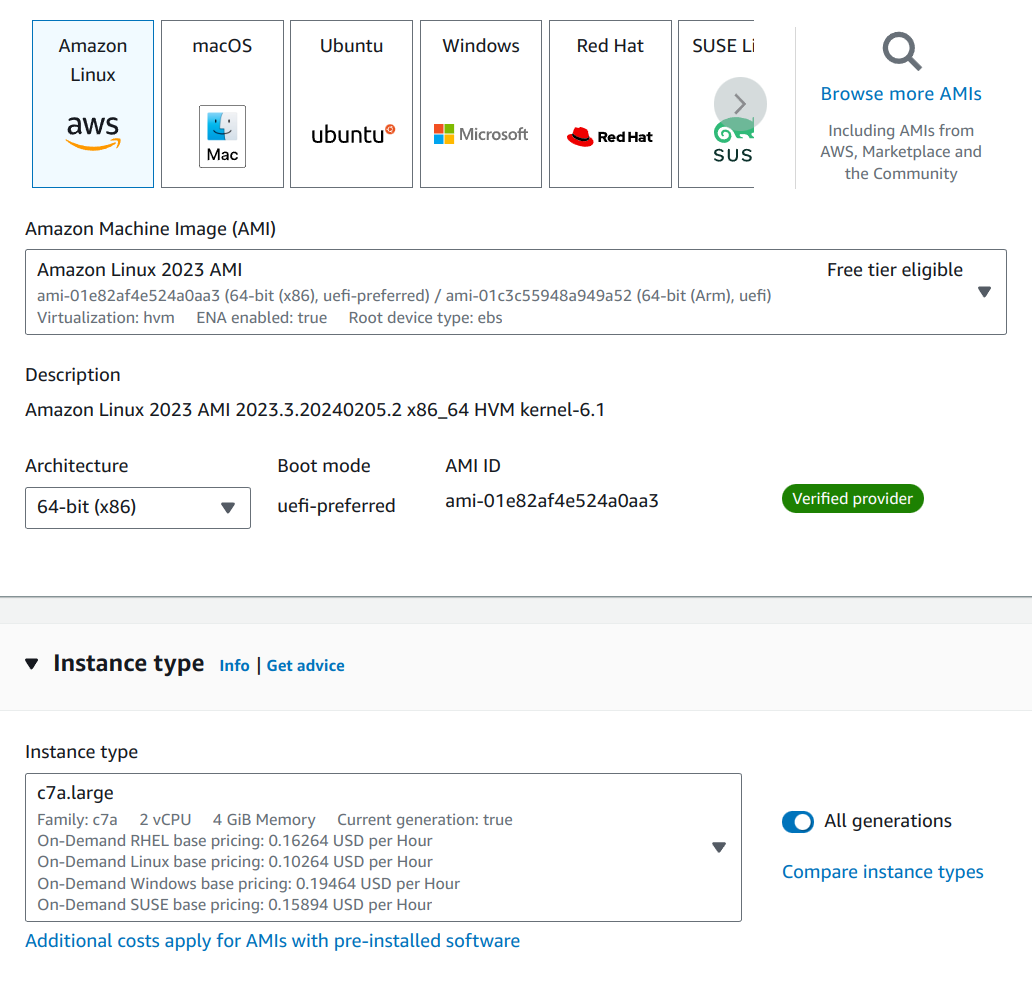
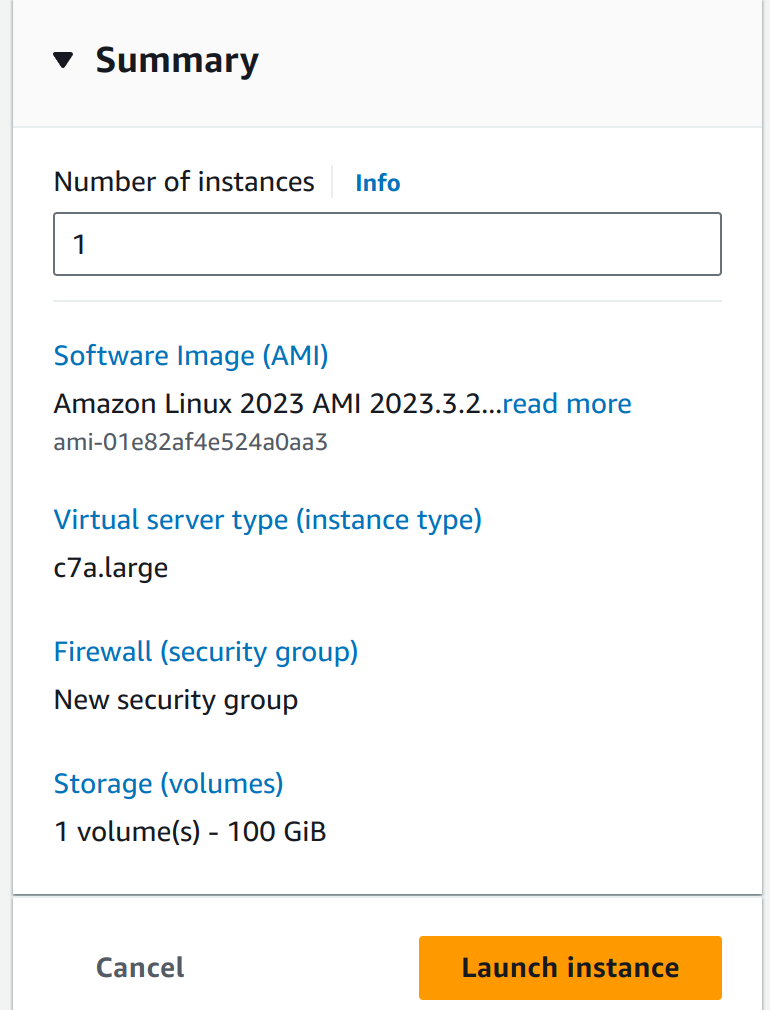
- Update security group
- create AWS AMI
- Set elastic IP