New Employee Onboarding
Source: Notion | Last edited: 2024-10-16 | ID: 10d2d2dc-3ef...
Welcome to the Team!
Section titled “Welcome to the Team!”First of all, congratulations and a huge welcome! You’ve joined one of the most talented and driven teams—not just in Canada, but anywhere. We’re thrilled to have you with us, and we know you’re going to thrive here at Eon Labs.
To help you get started on the right foot, your first stop should be our Employee Handbook (EH). It’s packed with everything you need to know to feel at home, so take your time exploring it.
Now, let’s get you set up and ready to shine. Here are the things you’ll need to take care of after joining Eon Labs:
Step 1: Set Up Necessary Accounts and Services
Section titled “Step 1: Set Up Necessary Accounts and Services”In this step, both Chen and Terry will personally send you invitation links to get you set up on all the services you’ll need. Don’t worry, it’s super simple—just like logging in or signing up for any service for the first time. If needed, you can use the “Forgot Password” option to create your own password during the first login. Also, you will need to use Eon Labs email in every step, not your personal email. No worries, we’ve got your back every step of the way!
1.1 Invitation Links from Chen
Section titled “1.1 Invitation Links from Chen”-
1.1.1 Google Workspace Follow the invitation link to log in and set your password. This will give you access to your company email and other essential tools.
-
1.1.2 Lark Lark is our all-in-one communication and collaboration hub, similar to Slack. We use Lark for messaging, video meetings, document sharing, and handling requests like time off or absences. Just log in via the invitation link and set your password.
-
1.1.3 Notion Notion is where we organize and store all company information, including business goals, KPIs, procedures, key meetings, and best practices. It’s a central knowledge hub to help you stay informed and aligned. Log in via the invitation link and set your password to access it.
-
1.1.4 JIRA JIRA is our project management platform, used to track tasks and projects. It’s where we keep an eye on all ongoing work, so you’ll always know what’s happening. Simply log in via the invitation link and set your password.
-
1.1.5 GitHub
-
For GitHub, please start by creating a new GitHub account using your Eon Labs email address.
-
Send your GitHub username/handle to Chen.
-
Chen will invite you to join the Eon Labs GitHub organization.
-
You may need to configure your Eon Labs GitHub account on your local machine using these commands (Once your machine is ready, you may come back to this part later). Be sure to replace “username” and “email” with your own information, and use the third command to verify your settings are correctly saved in the config file:
git config --global user.name "nateeonlabs"git config --global user.emailnateeonlabs.comgit config --list --global
-
1.2 Invitation Links from Terry
Section titled “1.2 Invitation Links from Terry”- Wagepoint
- This is where you’ll set up your salary payments. It’s quick and easy—just log in using the invitation link and set your password, and you’re all set!
- OpenAI ChatGPT
- Eon Labs provides you with a premium account for ChatGPT-4o. This tier ensures your prompts are stored internally and not used for future model training, so your work is always private. Simply log in via the invitation link and set your password to start using this powerful tool.
- 1Password
-
For secure password management, we use 1Password. If you’re new to 1Password, it’s an excellent tool that allows you to securely store all your usernames and passwords in one place. It even helps by automatically filling in your login details for various services, making your workflow seamless and secure.
-
To get started, use the invitation link Terry sent you. Simply log in and set up your password on your account via your browser.
-
Next, download the 1Password software or app from the official website, selecting the version that matches your operating system, and install it.
-
Once installed, launch the 1Password app on your local machine and log in using the username and password you set up in the browser.
-
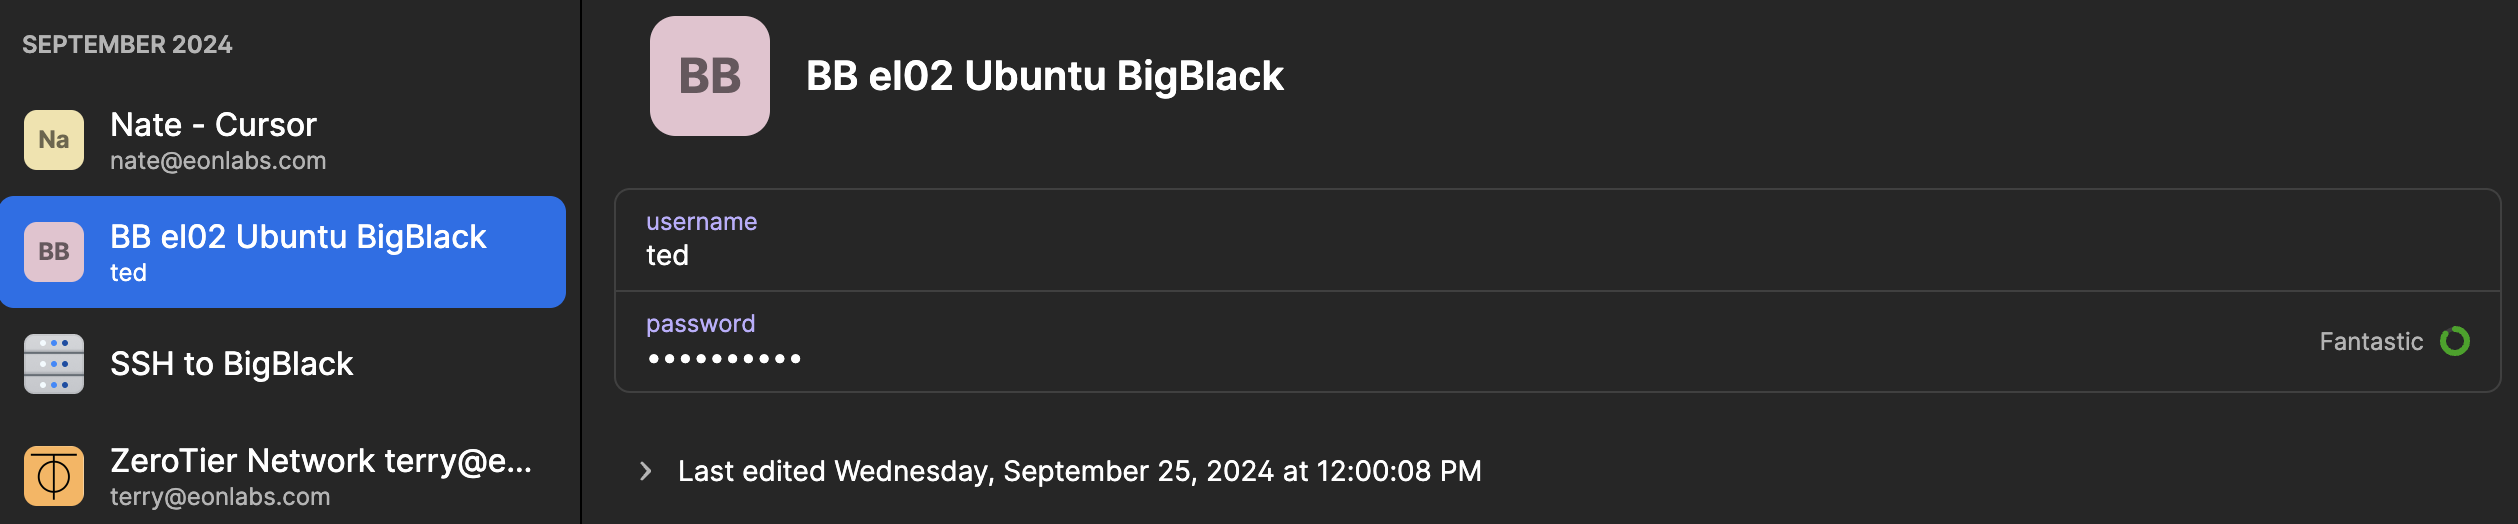
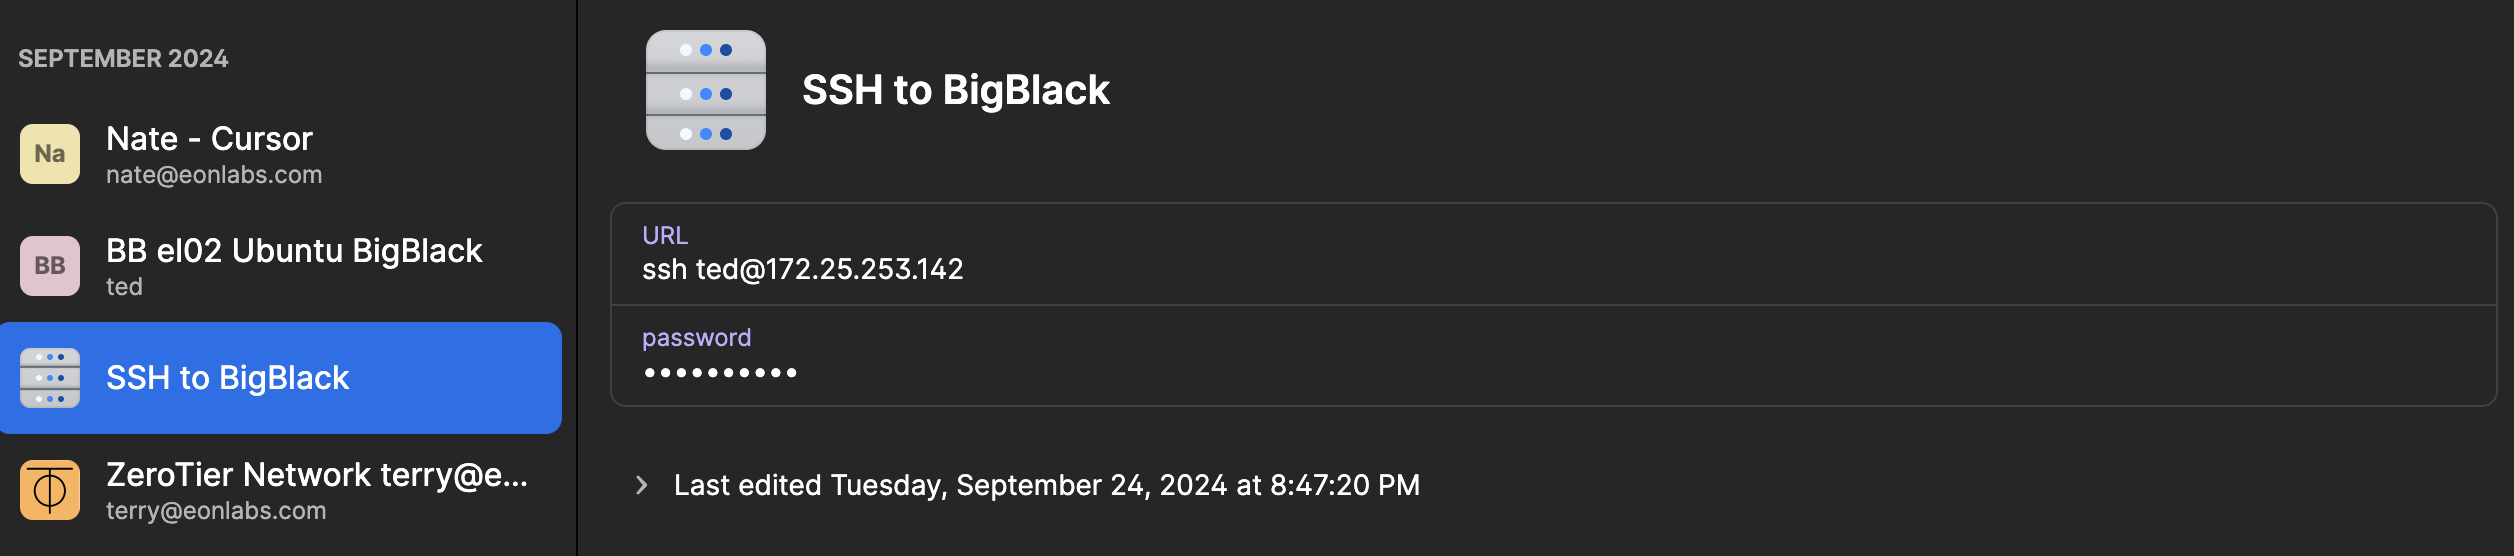
After logging in, you’ll see the vault that Terry shared with you, containing all the usernames and passwords you’ll need. For example, my server is called “Big Black,” so there’s a vault named “GPU BigBlack,” which contains all the essential usernames and passwords I need. Please note that Terry may share some instructions there as well, for example, he may share how to install Cursor on the server.
-
In the “Employee” vault, you can securely store all the passwords you’ve created for Eon Labs services in previous steps, as well as your personal passwords if you’d like. Don’t worry—no one else can see them. Terry has confirmed that your information remains completely private and secure!!
Step 2: Set Up Your Server Machine
Section titled “Step 2: Set Up Your Server Machine”You’ll be provided with a powerful, GPU-equipped machine to train and run your ML projects. This machine is located in our Vancouver office, so if you’re in Vancouver, you’re welcome to use it on-site, or you can access it remotely. Just to clarify, you may hear us refer to this machine as a “server.”
There are two ways to access your server remotely: through remote desktop software (we use Splashtop, which is similar to TeamViewer if you’re familiar with it) or by connecting via SSH.
In our experience, SSH is faster and more reliable for most tasks. While Splashtop offers a remote desktop interface, it can sometimes have slower connections(took 2 seconds for just tying T-T) and lacks certain features like file transfer. Because of this, most of us prefer using SSH.
However, to make sure you’re fully set up, we’ll guide you through both methods step by step, so you can choose the option that works best for you.
2.1 Your Server
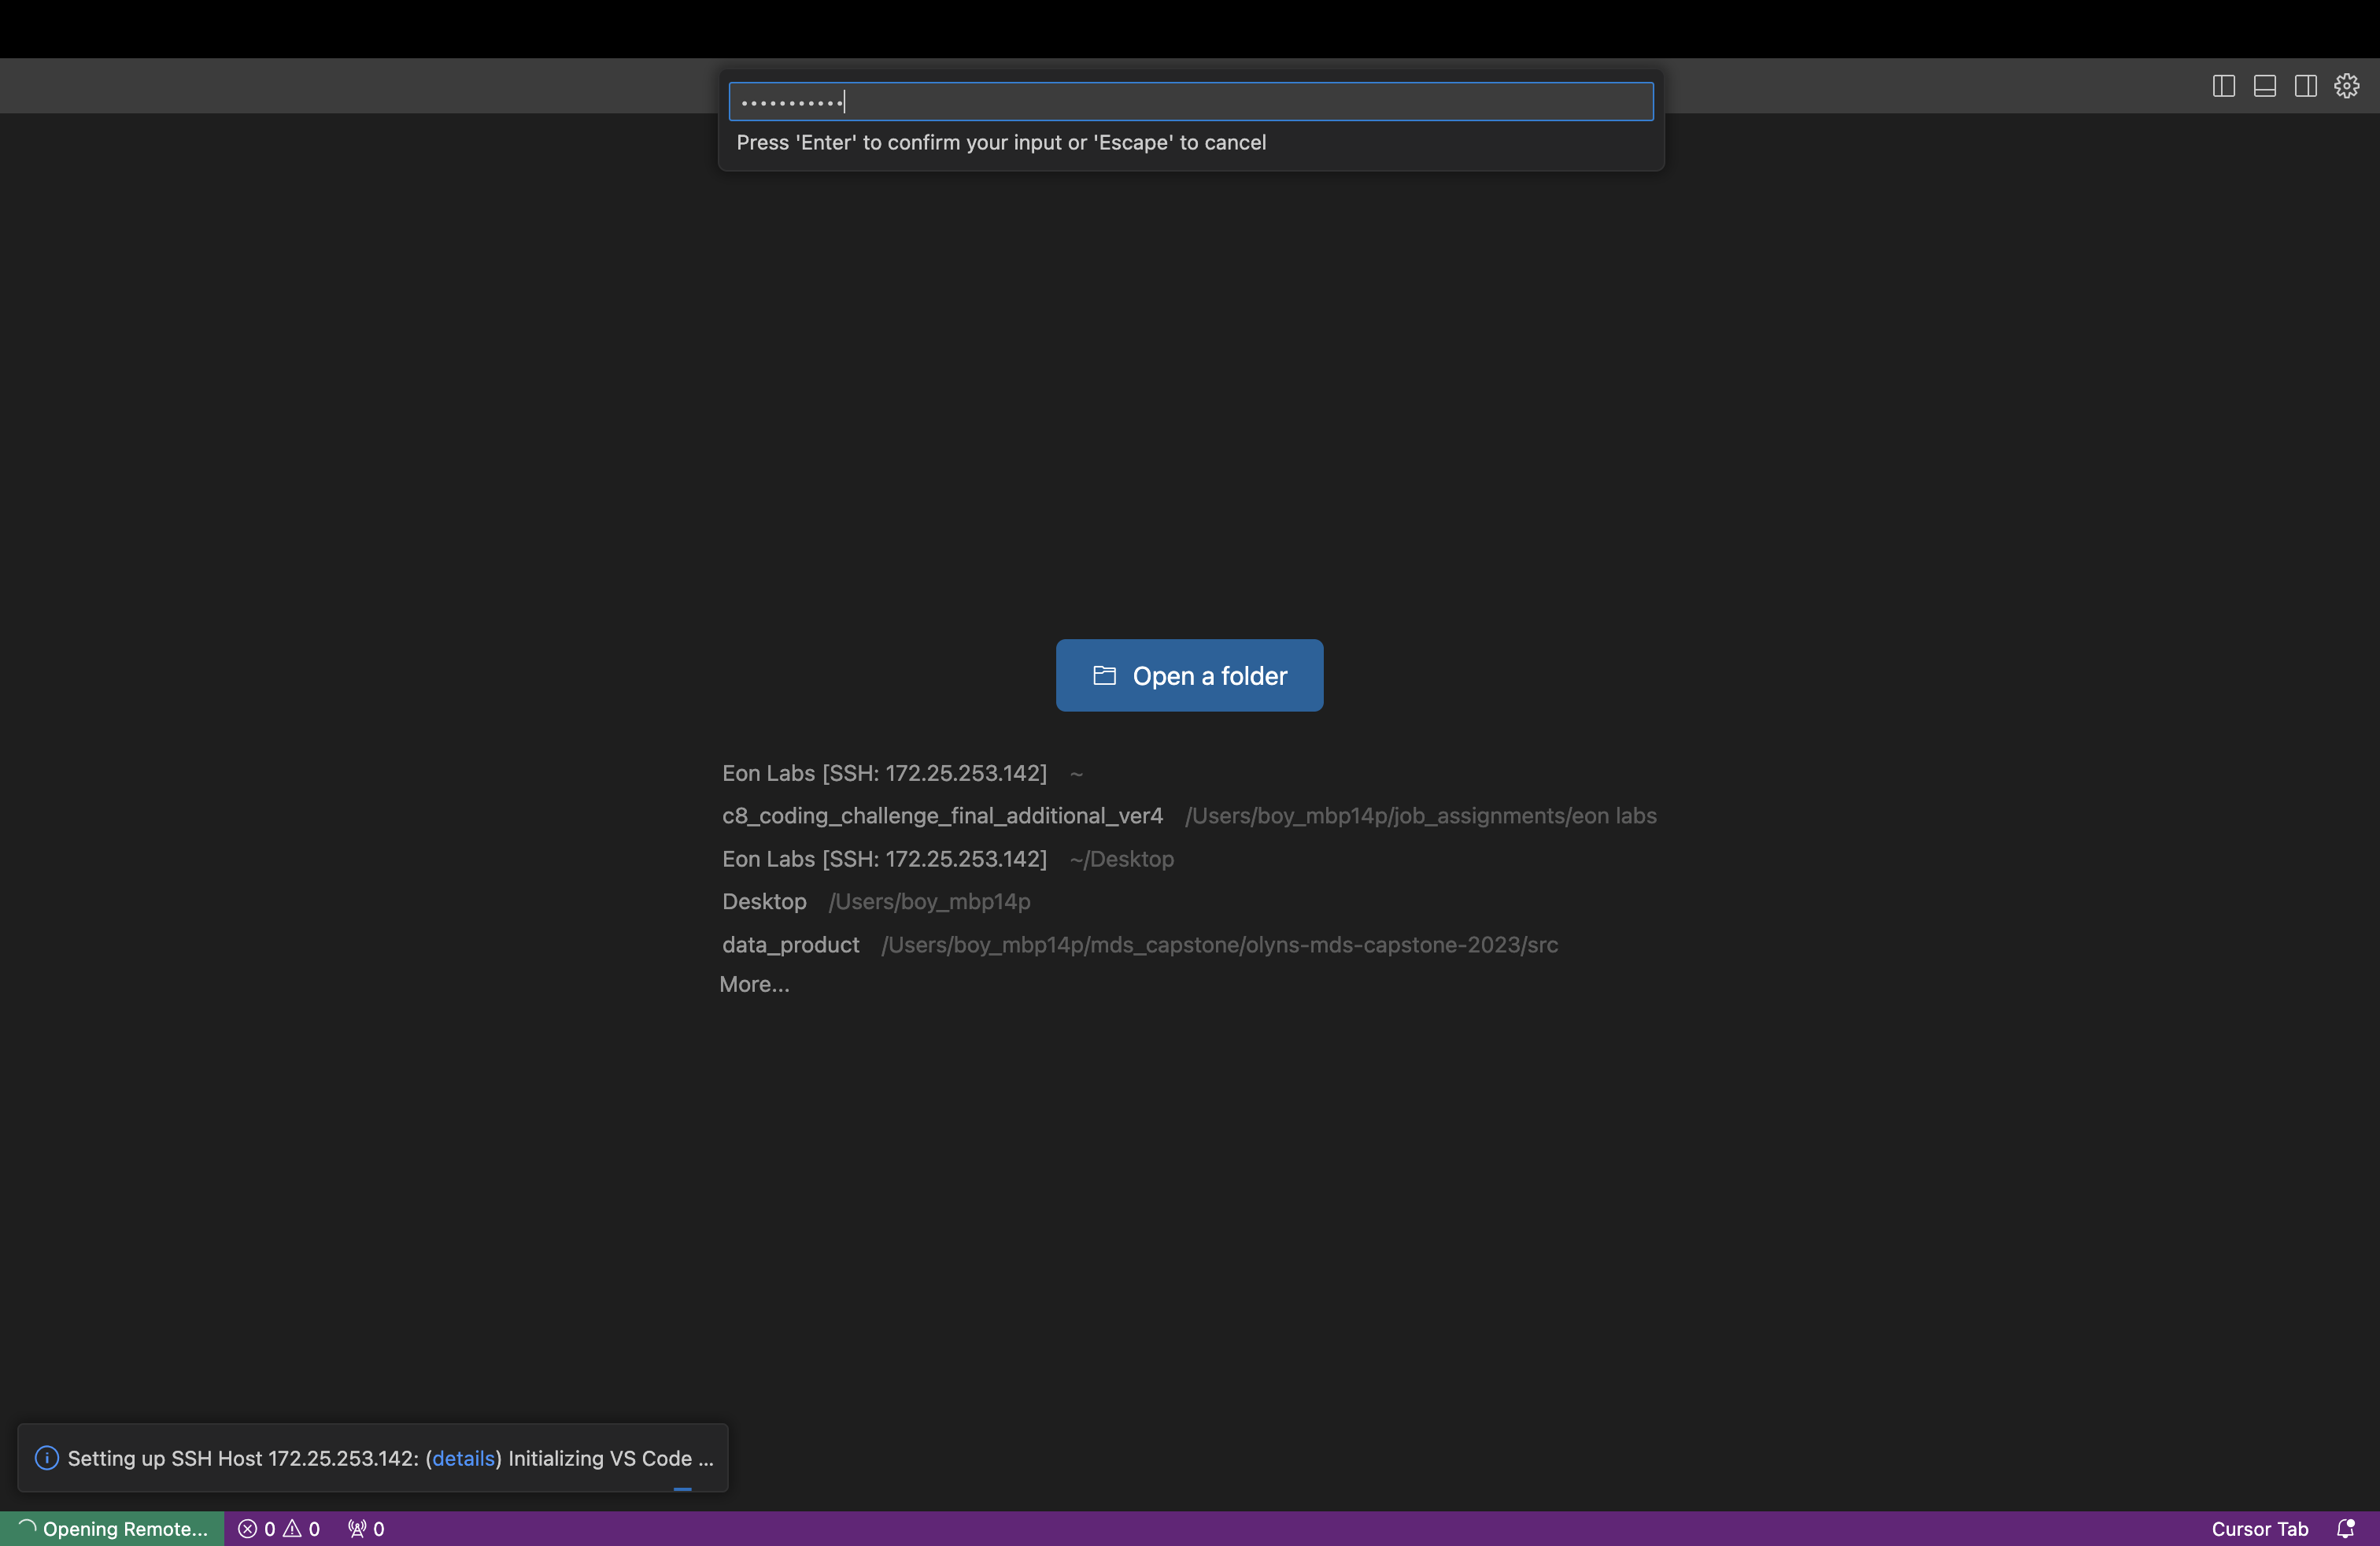
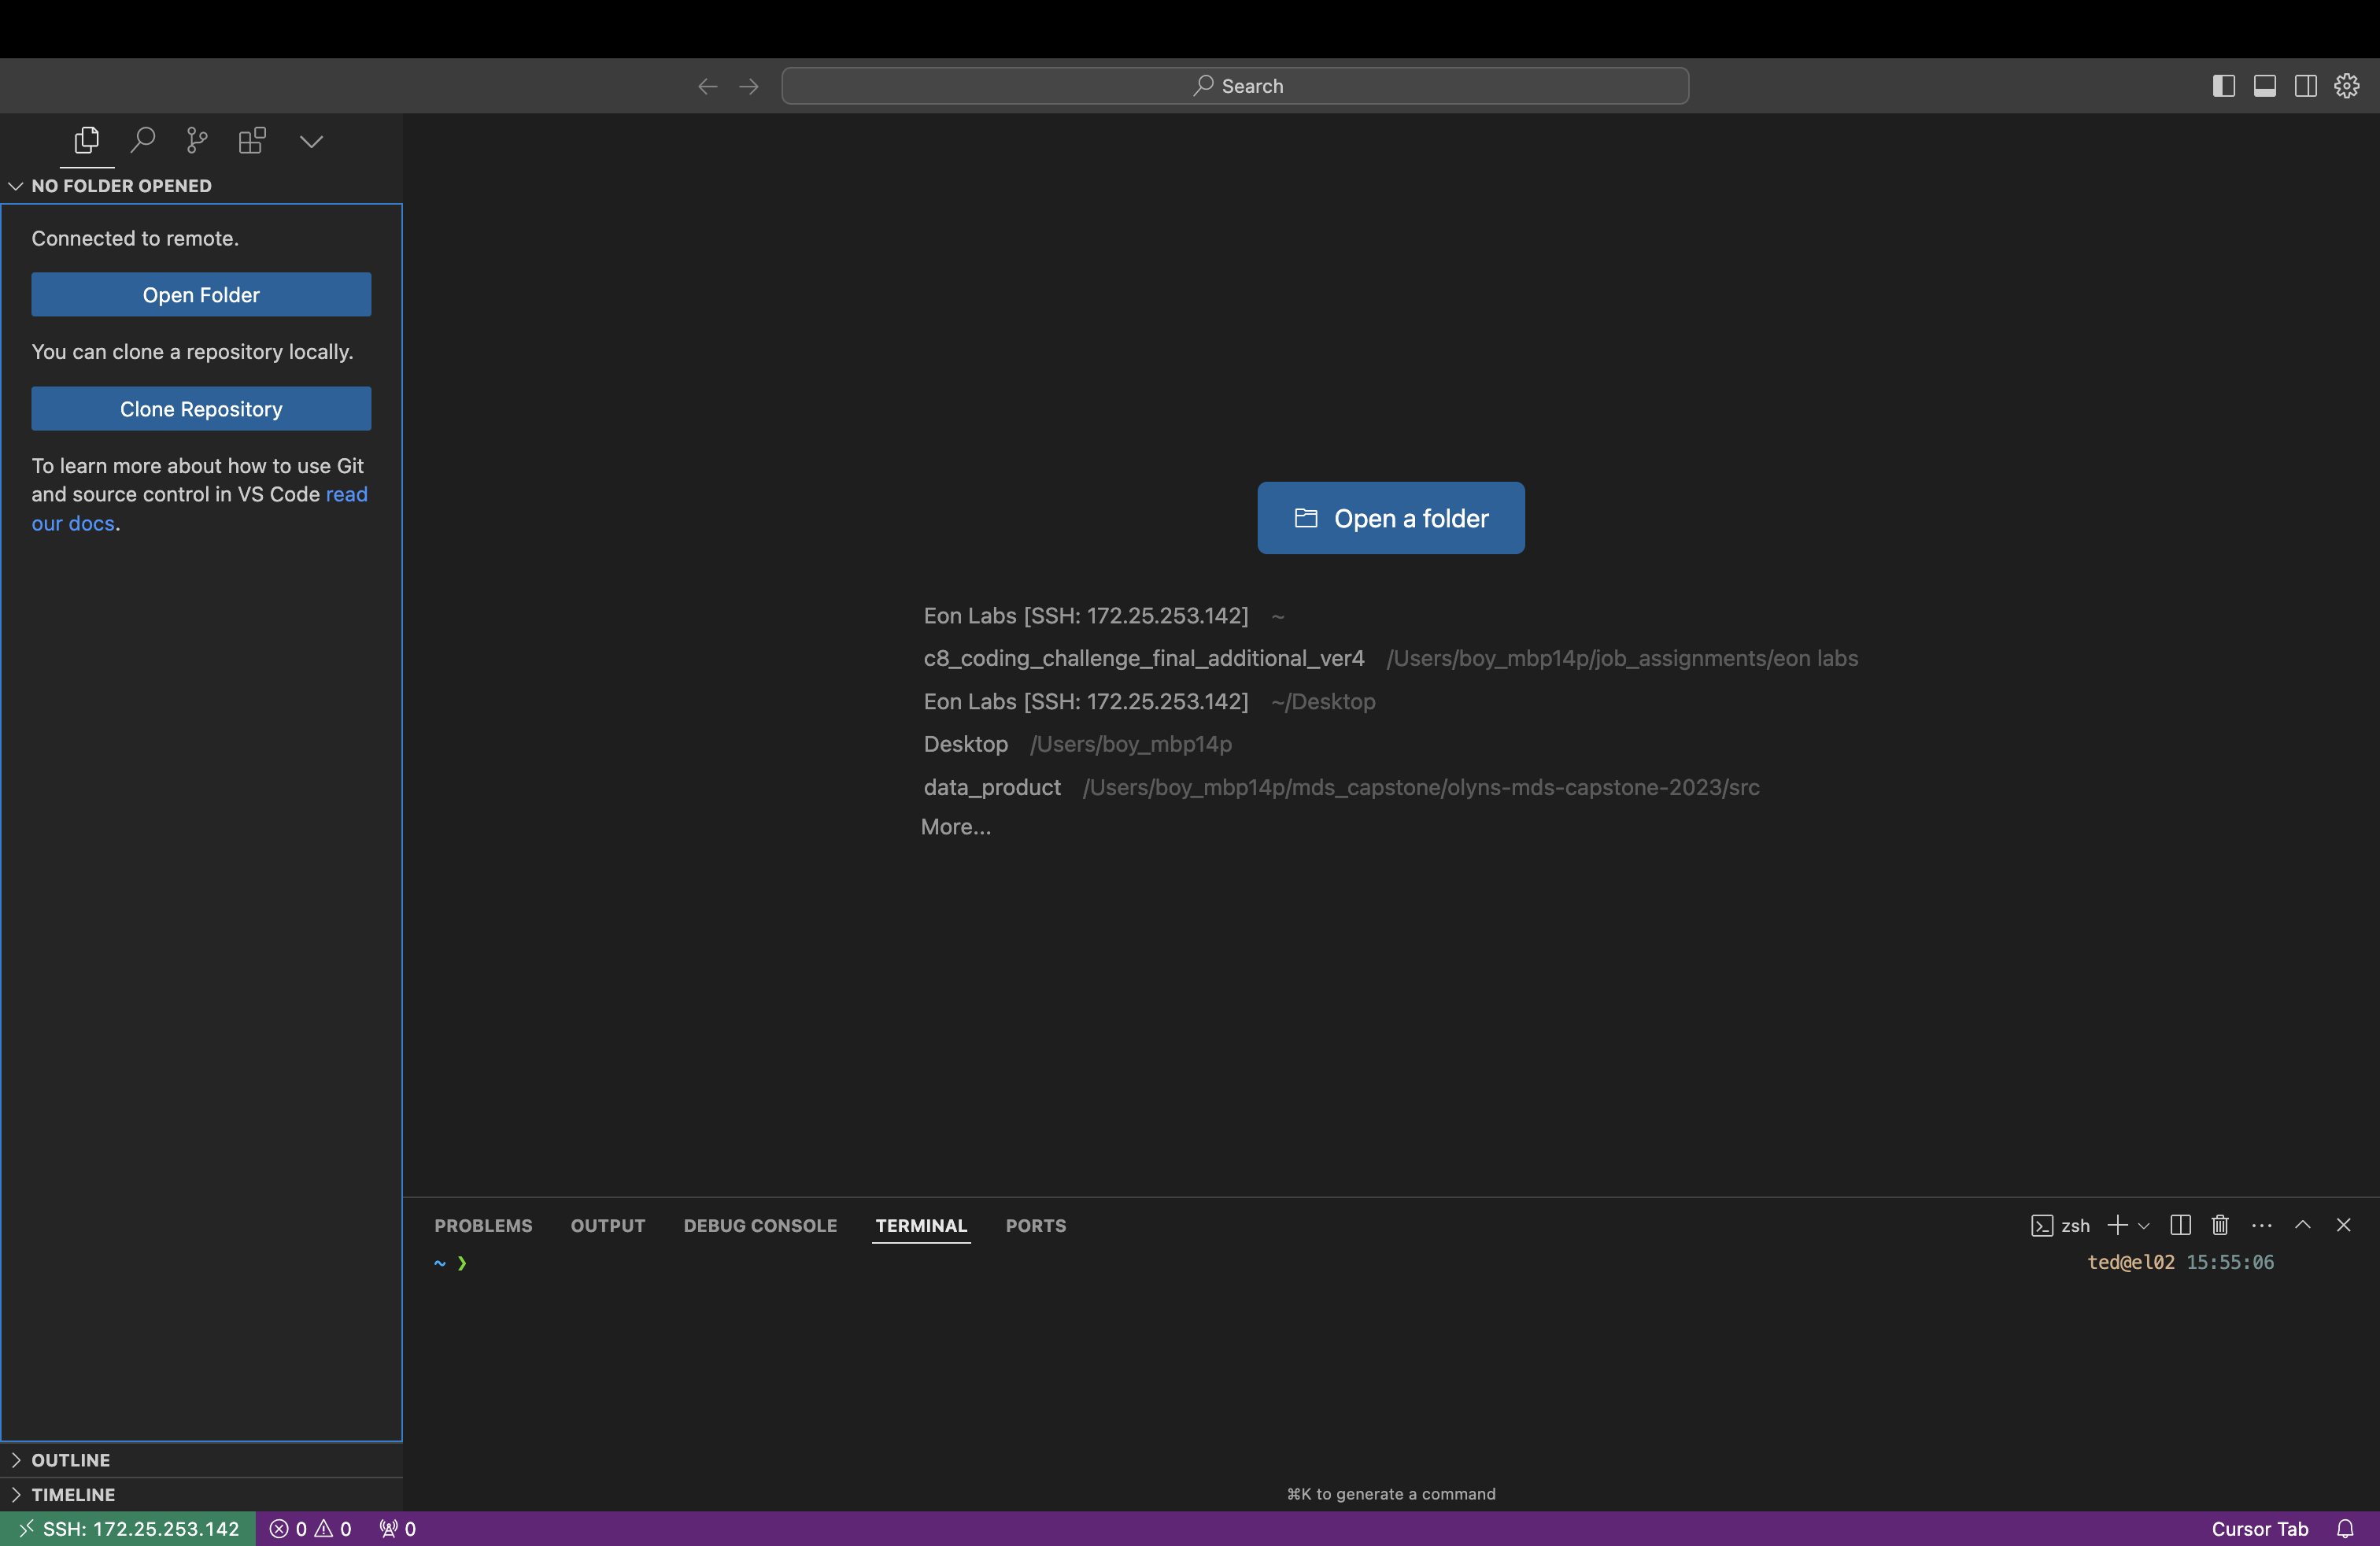
Section titled “2.1 Your Server”First, Terry will set up your server along with all the necessary functions, including SSH access. Once everything is ready, he’ll provide your username and password through 1Password. You can then try logging in manually if you’re in the office.
Please remember this info, we will use it again once we are connecting with SSH.
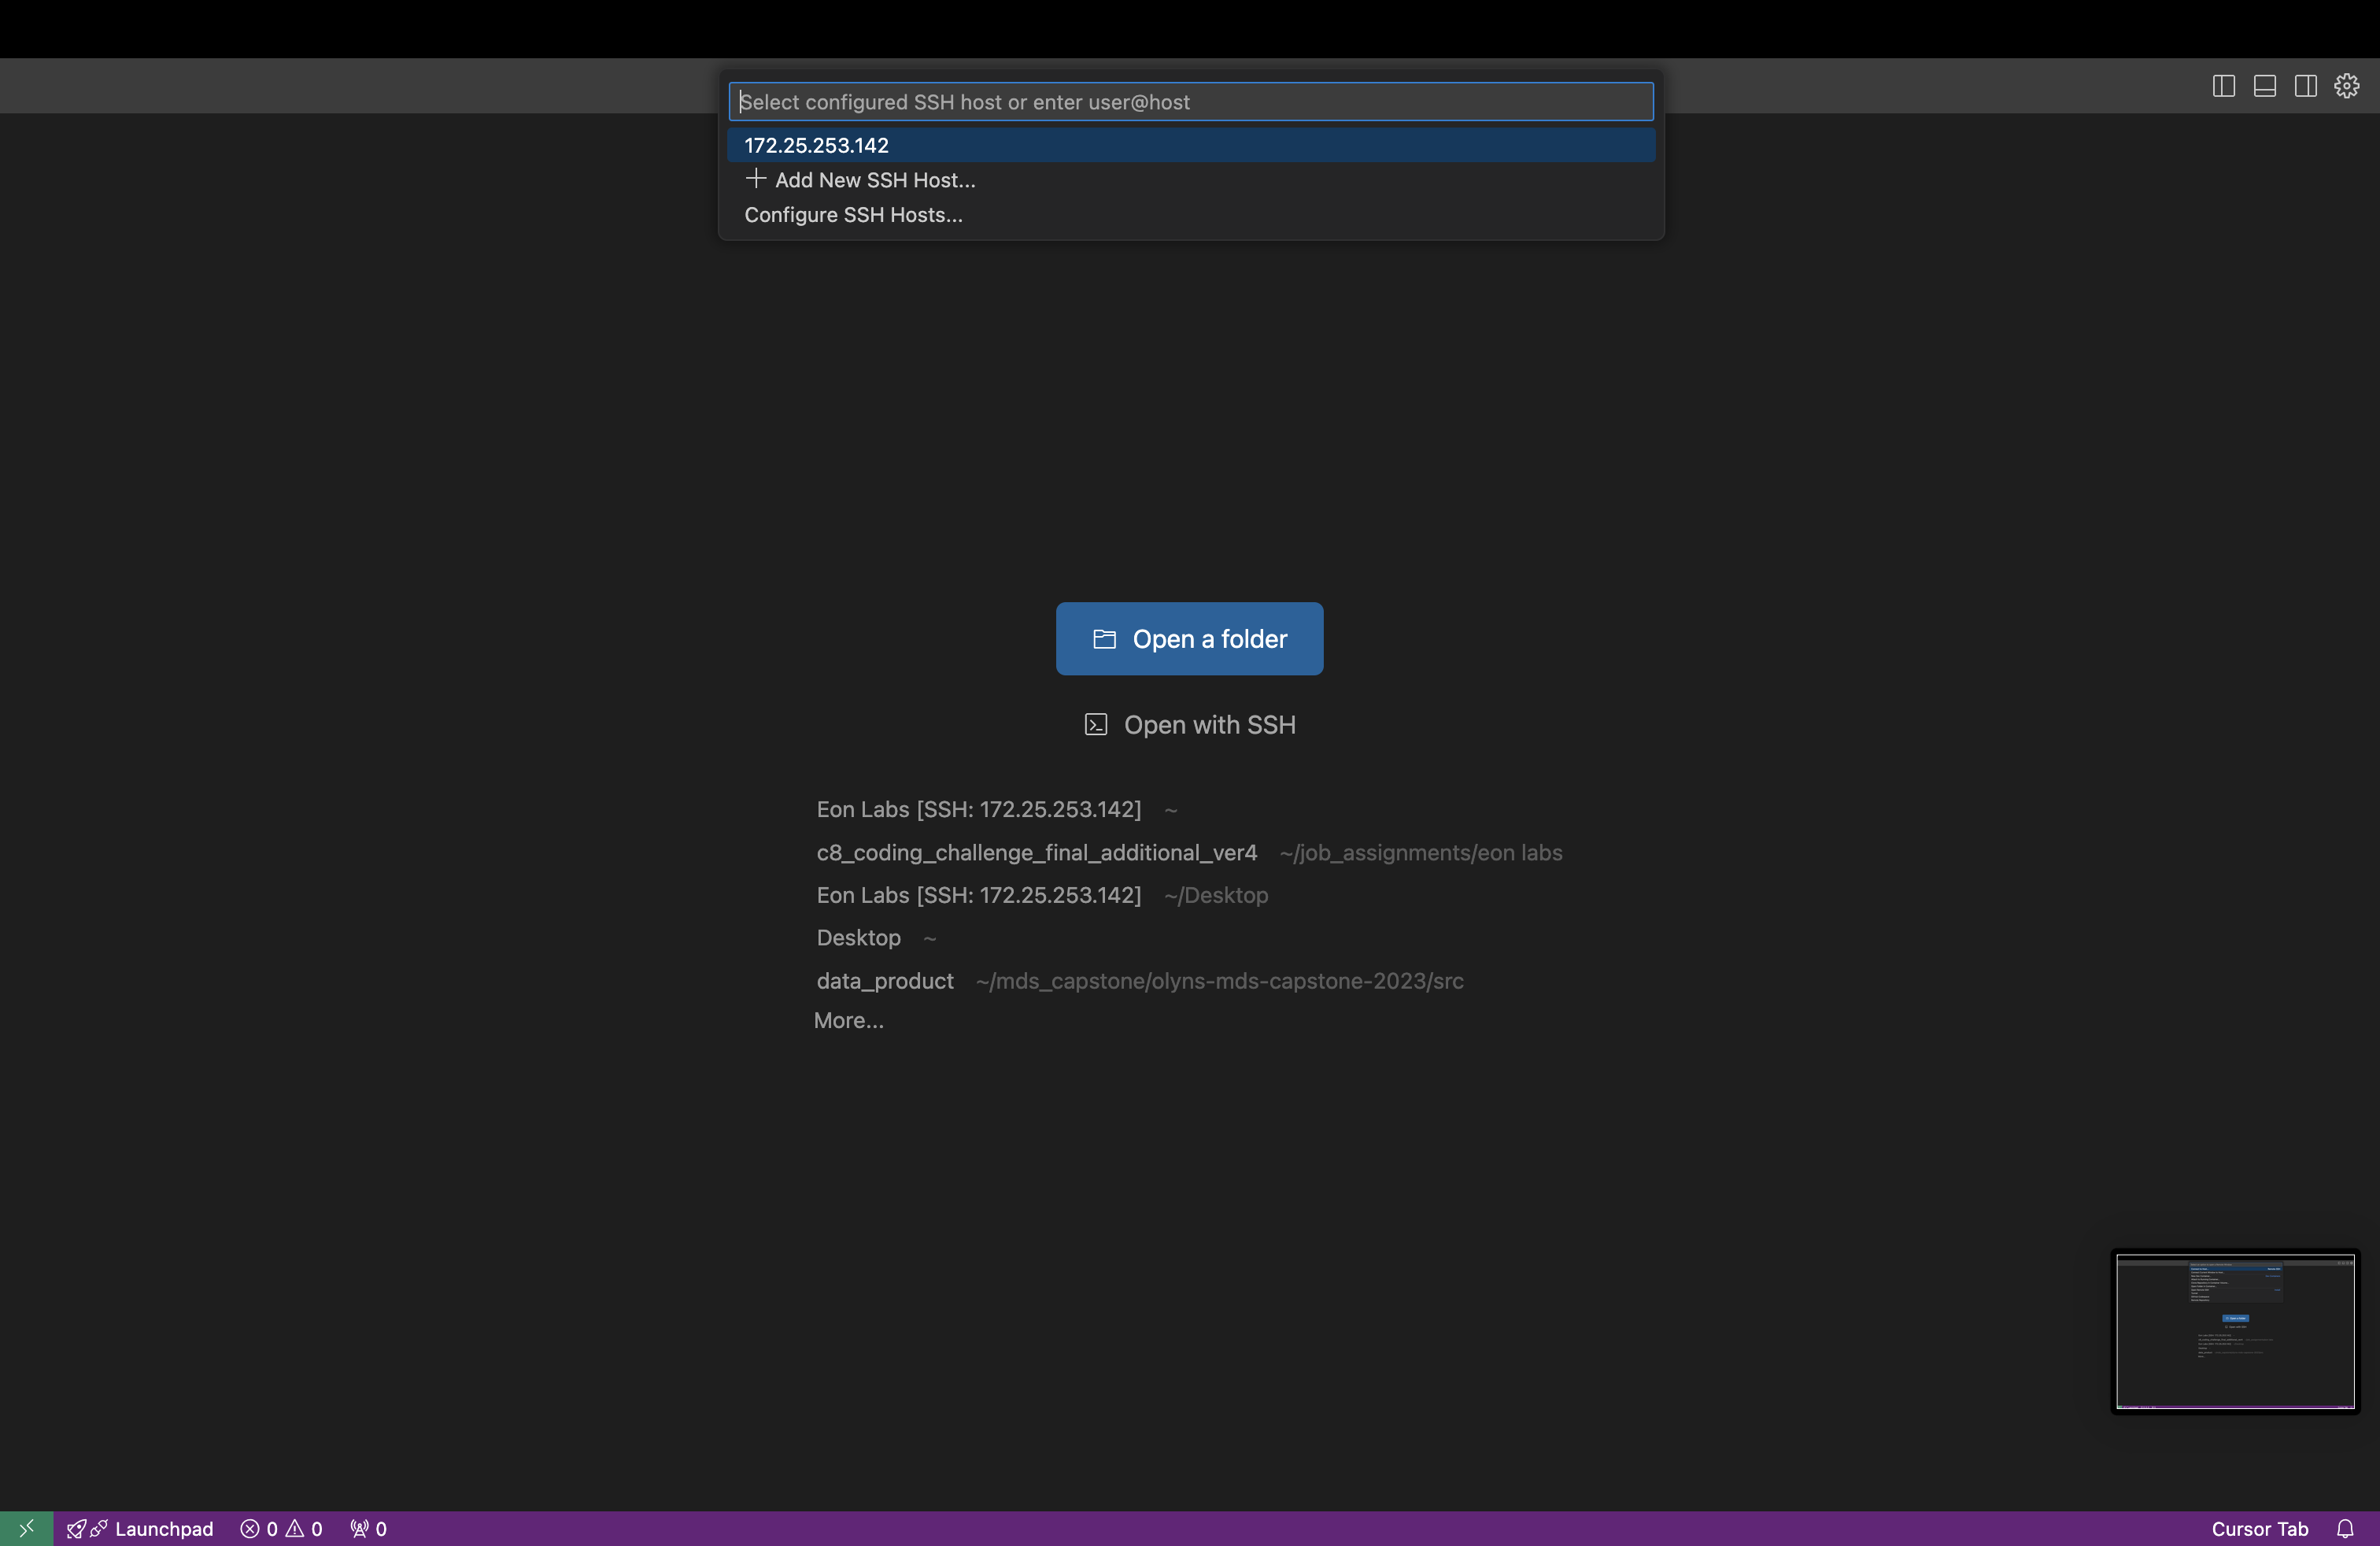
2.2 Setup SSH Connection
Section titled “2.2 Setup SSH Connection”Updated April 2026: SSH access is now gated by Cloudflare Access with short-lived (3-minute) certificates issued after GitHub SSO. There are no SSH keys to generate or share, and no ZeroTier VPN to join — those instructions have been retired.
Follow the current guide: SSH to el02 via Cloudflare Access
The 5-step setup takes about 3 minutes total: register via the dashboard, ask the admin to add you to the
ssh-operatorstier, installcloudflared, run our one-shot setup script, thenssh el02.
Once you’ve completed that guide, when working on ML projects and connecting via SSH, we use Remote-SSH through either VSCode or Cursor. You’ll need to set up Remote-SSH as outlined in Step 3.3 Remote-SSH.
2.3 Setup Remote Desktop (Splashtop) Connection
Section titled “2.3 Setup Remote Desktop (Splashtop) Connection”-
To set up the Splashtop remote desktop, simply log in using the email invitation from Terry and follow the steps outlined in the email.
-
When logging in for the first time, Splashtop will send the verification and authorization link to your email, check your email and click the link to verify, you then will be able to log in to your account
-
After logging in, you can choose to download the software/app with “Business App”
-
Launch the Splashtop software/app on your local machine and sign in. If you don’t see any available remote connections as shown below, please reach out to Terry to have your Splashtop account added to the network.
-
Then, you will be able to find your server and connect to it.
That’s it! It looks like we’ve made great progress, and you’ve successfully set up the remote connection to your server—bravo! 🎉
Step 3: Install Required Software and Packages
Section titled “Step 3: Install Required Software and Packages”At this point, there are two different approaches you can take for using your server:
-
Option 1: Install software and packages on your local machine In this method, you’ll connect to the server via SSH to run your ML projects. The server will act as a storage space for project clones from the Eon Labs repository and serve as a powerful workhorse with its GPU to execute the projects.
-
Option 2: Install software and packages directly on the server In this case, you’ll need to use the Splashtop remote desktop to connect and work directly on the server, running your ML projects as if you were physically working on it.
However, as mentioned earlier, Splashtop can be slower and more limited in functionality. For that reason, I’ve chosen to go with the first option. You can follow my setup below, but if you prefer the second option, feel free to install all the necessary software and packages directly on the server.
3.1 Cursor
Section titled “3.1 Cursor”During your initial conversation with May, she probably mentioned that we use Cursor as our main IDE. If you haven’t heard of it before, don’t worry—neither had I! Cursor is an AI-powered IDE that integrates coding assistance directly into your development environment. It’s similar to using ChatGPT, but it’s specifically designed to help with code. This means you can prompt the AI for coding help, debugging, or suggestions right within Cursor, making your workflow much more efficient.
Feel free to check out this video (or others) to learn more about how Cursor works.
To install Cursor, visit https://www.cursor.com and click the download button in the top-right corner. Then, follow the instructions to install the software on your local machine.
Terry will also send you an invitation email for Cursor—just sign up and log in using the details provided.
Once installed, launch Cursor and sign in with the username and password you just set up. You’ll be ready to explore and enjoy the full capabilities of Cursor!
3.2 Docker
Section titled “3.2 Docker”Before you can run the Dev Container, we need to setup Docker first. there are two types of Docker; Docker Engine and Docker Desktop, in this case we only need the Docker Engine.
3.2.1 Docker Extension
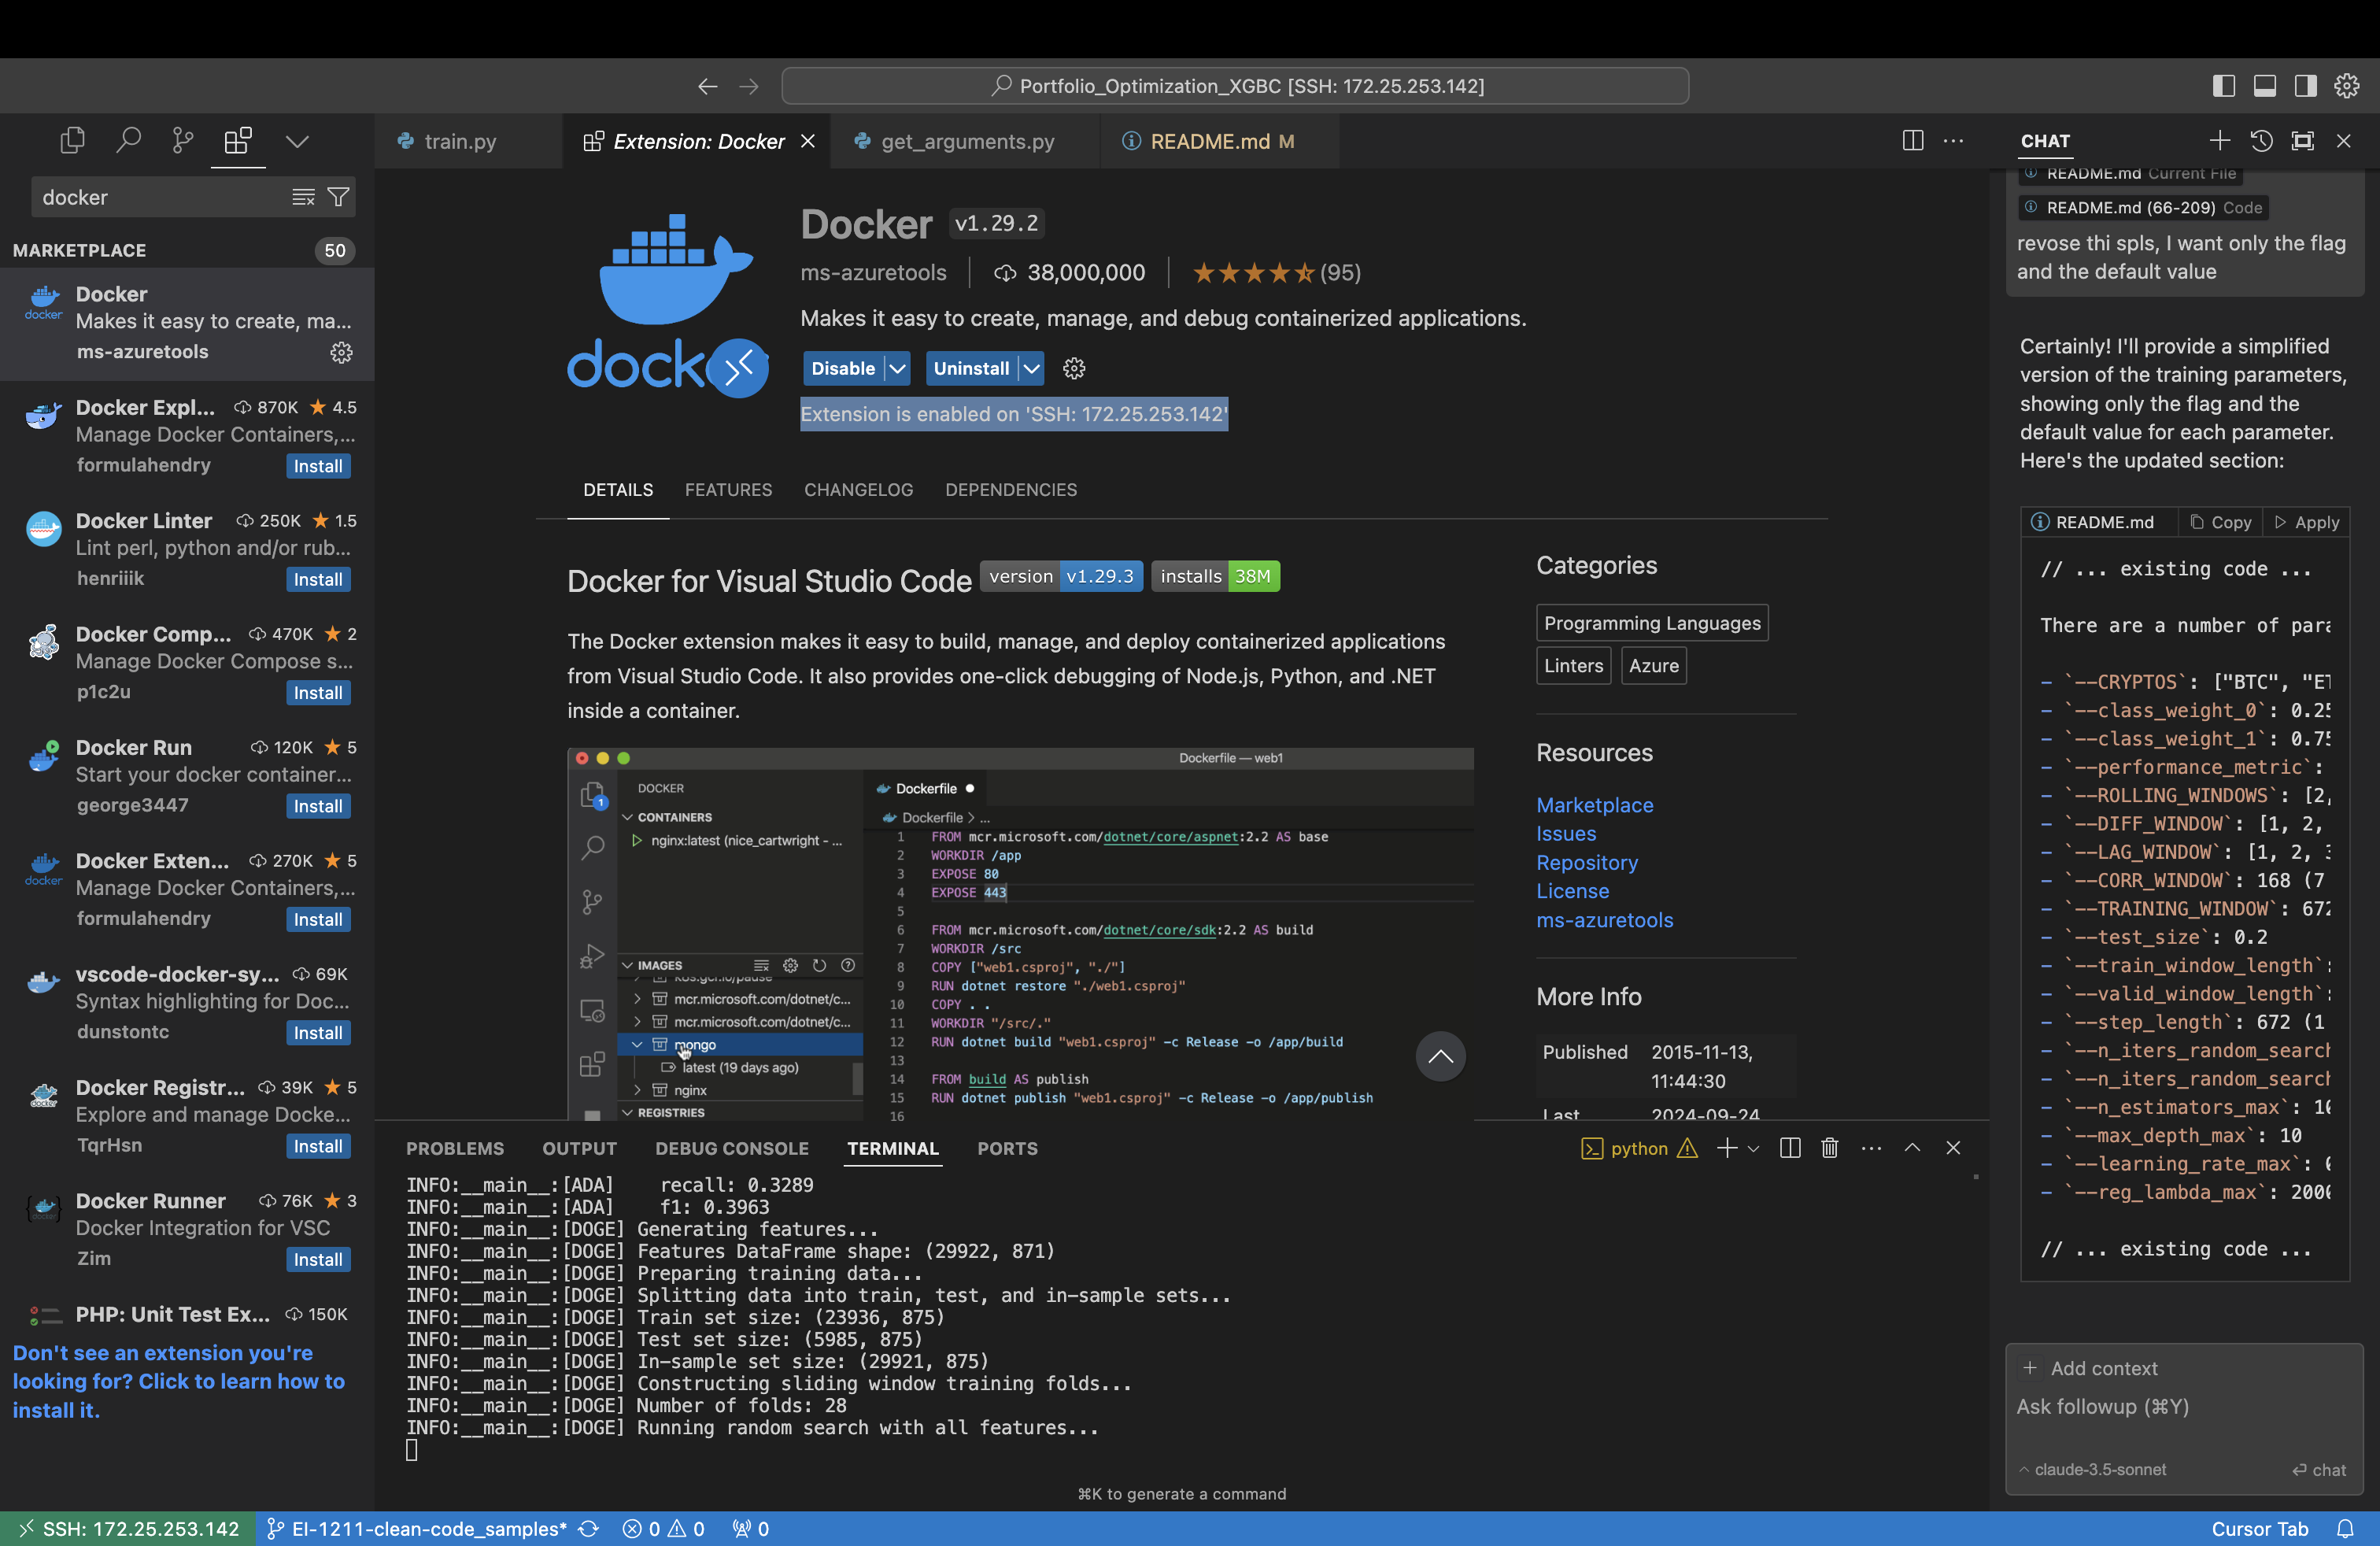
First, you will need to install Docker extension on the IDE you are using; Cursor or VScode, this extension allows us to use Docker Engine via Cursor or VScode. Please make sure that it is installed on your server such as “Extension is enabled on ‘SSH: xxx.xxx.xxx.xxx’”.
3.2.2 Docker Engine on your server
This step, you will need to install Docker Engine on your server. One problem I found while installing this Docker is that I could not run the Dev Container successfully even I followed the installation step on Docker official website. I discussed to Harsh and this seems to be a good method installing the Docker Engine.
-
Uninstalling Docker and Docker Related Follow these steps to completely uninstall Docker Engine, Docker Desktop, and all Docker-related components from your system.
-
Stop Docker Services
Before uninstalling, stop any running Docker services:
sudo systemctl stop dockersystemctl --user stop docker-desktop2. Uninstall Docker Engine
To remove Docker Engine, Docker CLI, and Docker Compose, run the following command:sudo apt remove docker docker-engine docker.io containerd runc3. Uninstall Docker Desktop
If Docker Desktop is installed, you can remove it with this command:sudo apt remove docker-desktop4. Remove Docker Packages
To ensure no Docker-related packages remain, clean up the system:sudo apt purge docker-ce docker-ce-cli containerd.io5. Remove Docker Dependencies
Remove any unnecessary dependencies that were installed alongside Docker:sudo apt autoremove --purge -y6. Delete Docker Files and Data
To completely remove Docker files, including images, containers, and volumes, run:sudo rm -rf /var/lib/dockersudo rm -rf /var/lib/containerd7. Remove Docker Desktop Configuration
If you used Docker Desktop, delete any configuration files associated with it:rm -rf ~/.docker/desktoprm -rf ~/.docker/config.json8. Check for Remaining Files
Check for any remaining Docker-related files and directories:sudo find / -name '*docker*'Carefully delete any remaining Docker files, but avoid removing critical system files.
9. Stop Docker Socket (if necessary)
If Docker services or sockets are still active, stop them:sudo systemctl stop docker.socketsudo systemctl stop docker.service10. Reboot Your System (Optional)
To ensure that all Docker-related processes are completely stopped, you may want to reboot your system: sudo reboot-
Installing Docker Engine Follow these steps to clean up any previous Docker installations and perform a fresh installation of Docker.
-
Remove Existing Docker Packages (if applicable)
To ensure a clean installation, remove any existing Docker packages:
sudo apt-get remove docker docker-engine docker.io containerd runc2. Clean Up Leftover Files
Remove any residual files from previous Docker installations:sudo apt-get autoremovesudo apt-get autoclean3. Update the Package List
Update your system’s package index to ensure you have the latest package versions:sudo apt-get update4. Install Docker
Install Docker from the official package repository:sudo apt-get install docker.io5. Start and Enable Docker Service
Start the Docker service and enable it to run at system startup:sudo systemctl start dockersudo systemctl enable docker6. Verify the Installation
Run a test Docker container to verify the installation:sudo docker run hello-world7. Check Docker Version and Info
To confirm the installation, check the Docker version and system information:docker --versionsudo docker info8. (Optional) Run Docker Without `sudo`
If you want to use Docker without typing `sudo` each time, add your user to the `docker` group:sudo usermod -aG docker $USERAfter running this command, log out and log back in for the group changes to take effect. Alternatively, you can start a new shell session with the updated group membership:newgrp docker9. Run Docker Again
Test Docker again to ensure it's working without `sudo`:docker run hello-world10. Troubleshooting Permissions (if needed)
If you encounter permission issues, follow these steps:
- **Check Ownership of Docker Socket**:ls -l /var/run/docker.sockIt should be owned by `root:docker`. If it’s not, change the ownership:sudo chown root:docker /var/run/docker.sock- **Set Correct Permissions for Docker Socket**:sudo chmod 666 /var/run/docker.sockNote: This is a temporary solution and is less secure. Use it only for troubleshooting.
- **Restart Docker Service**:sudo systemctl restart dockerAfter performing these steps, try running the Docker test command again:docker run hello-worldIf you're still experiencing issues, you can check the output of the following commands to help diagnose the problem:groupsls -l /var/run/docker.socksudo systemctl status docker3.3 Dev Container
Section titled “3.3 Dev Container”May likely mentioned earlier that we’ll be using Dev Containers to run all our ML projects. A Dev Container is a pre-configured development environment that includes all the necessary dependencies and tools, packaged in a way that ensures everything runs smoothly and consistently. This means you won’t have to worry about dependency conflicts or compatibility issues on your local machine—everything is handled within the container.
By using Dev Containers, you can focus on coding and developing without needing to spend time setting up or troubleshooting your environment. You can set up the Dev Container and learn more about how it works using the instructions provided below.
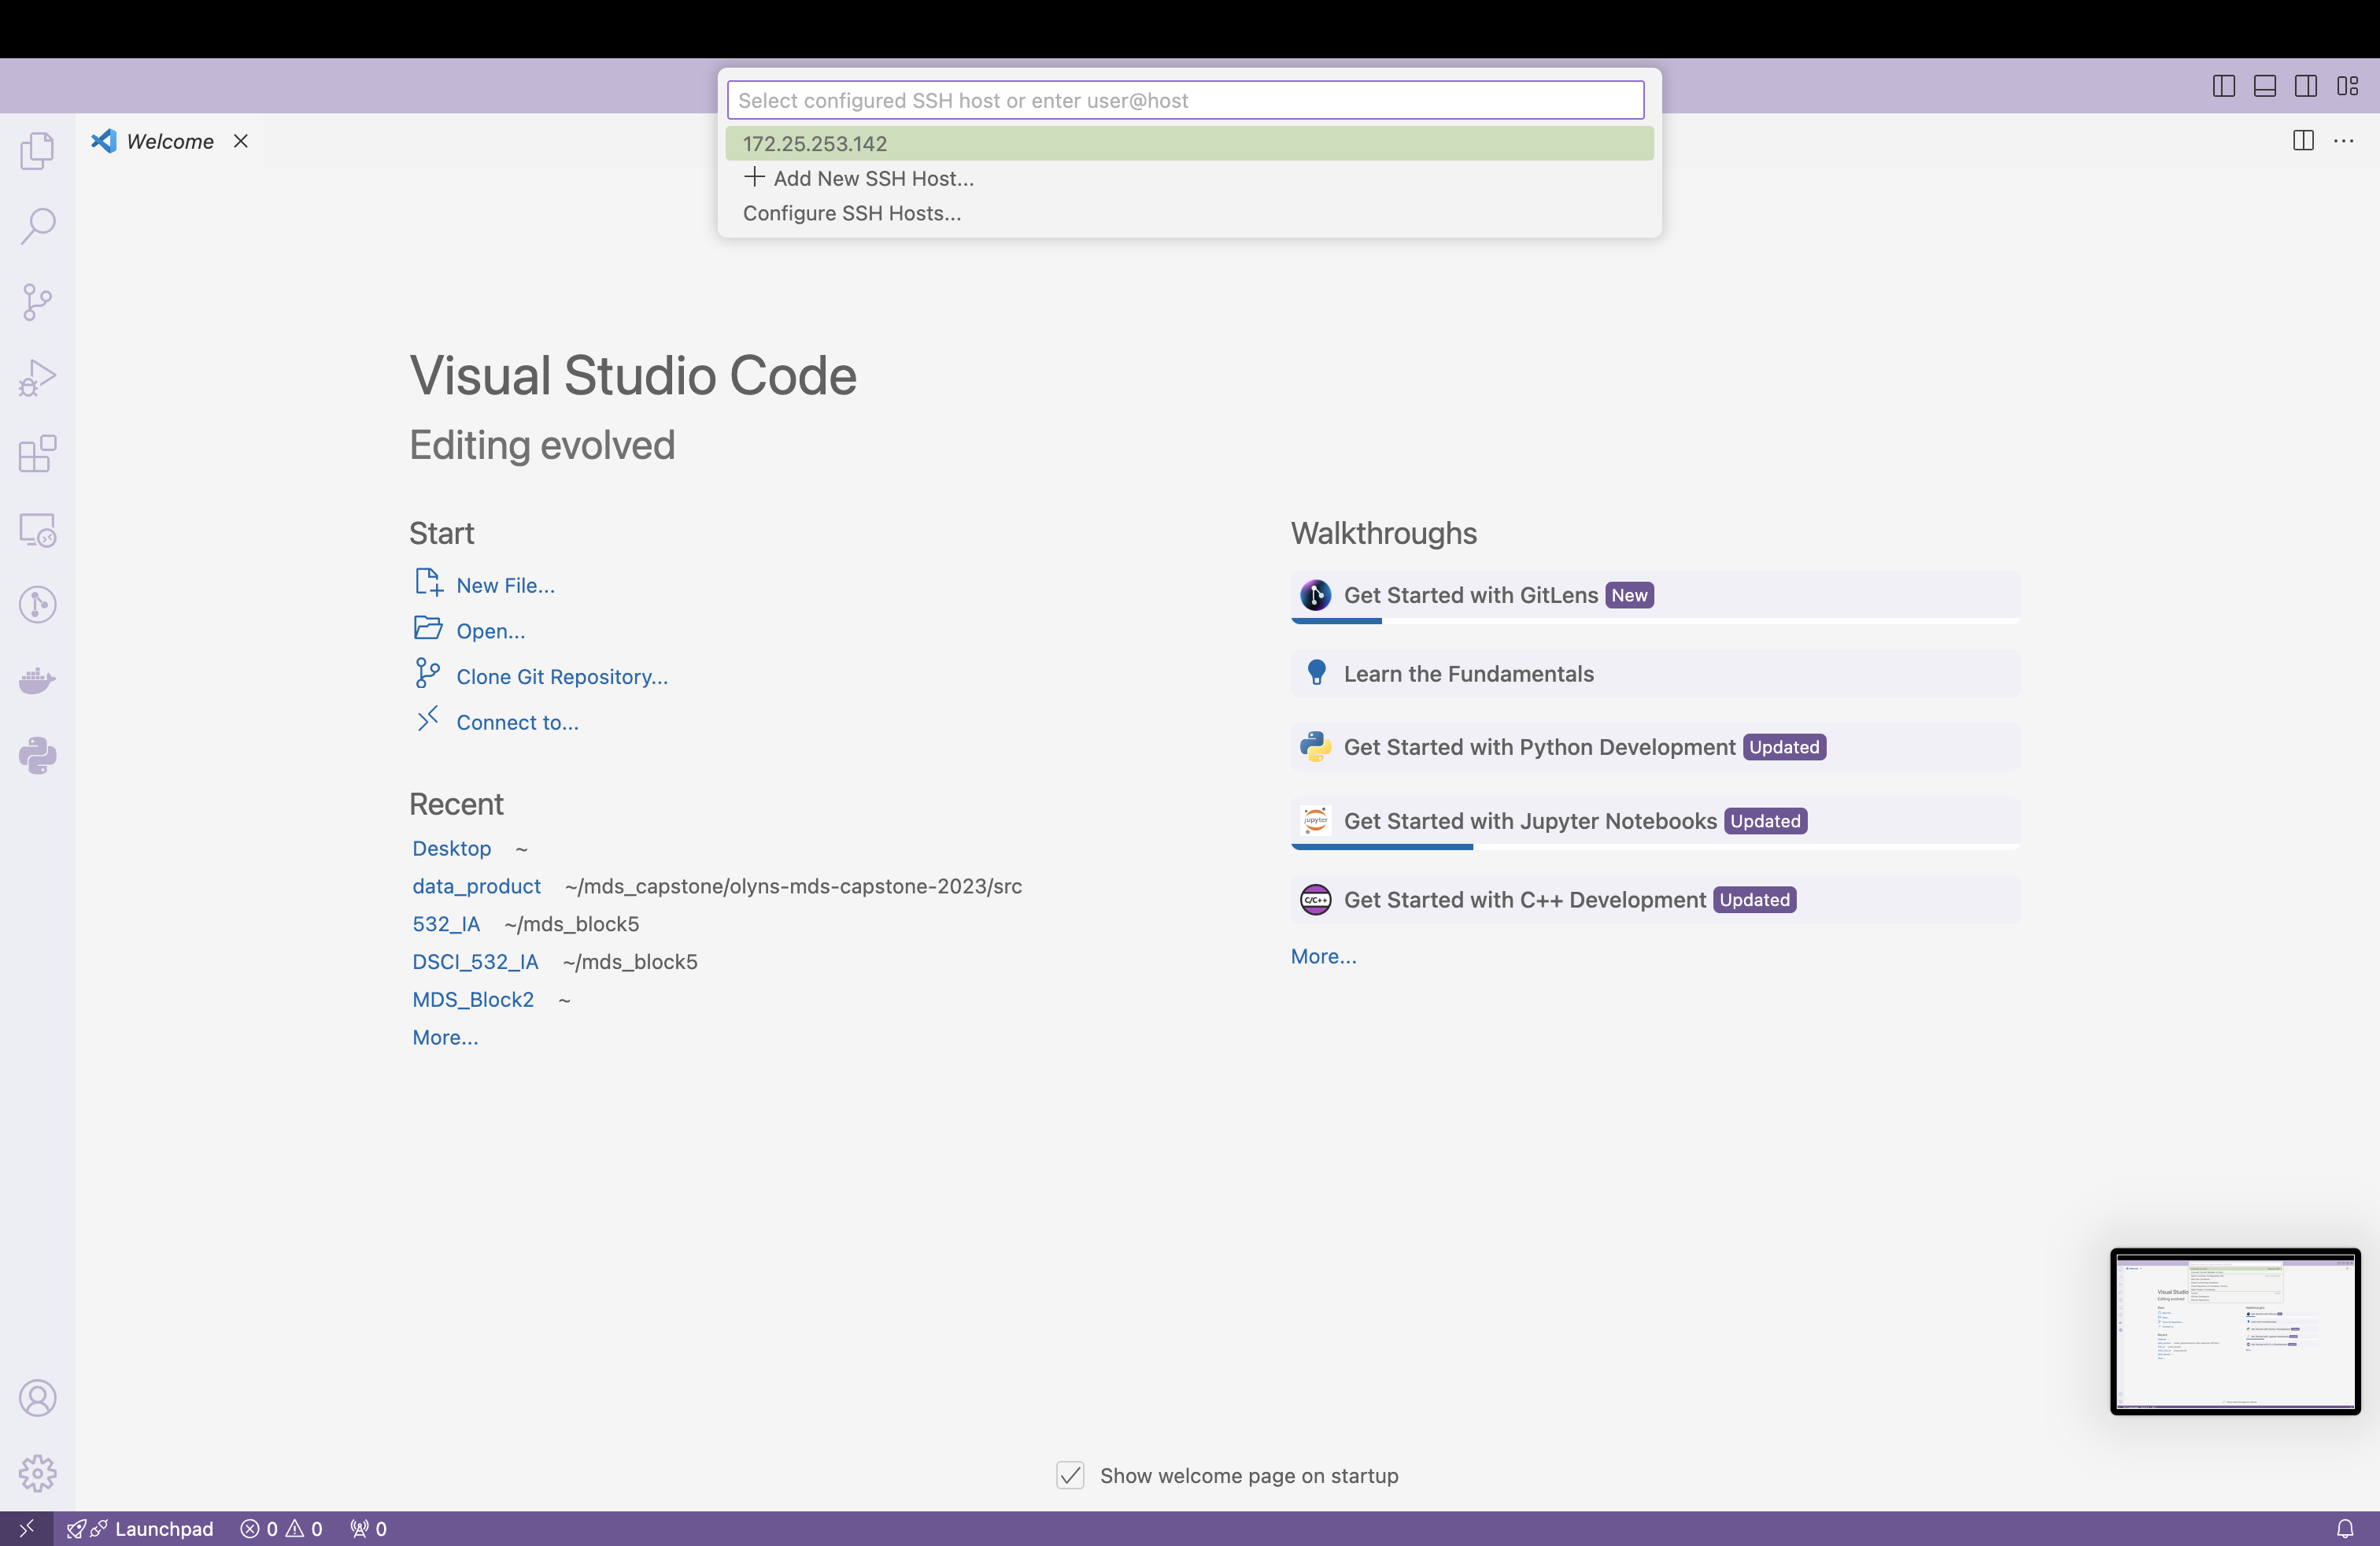
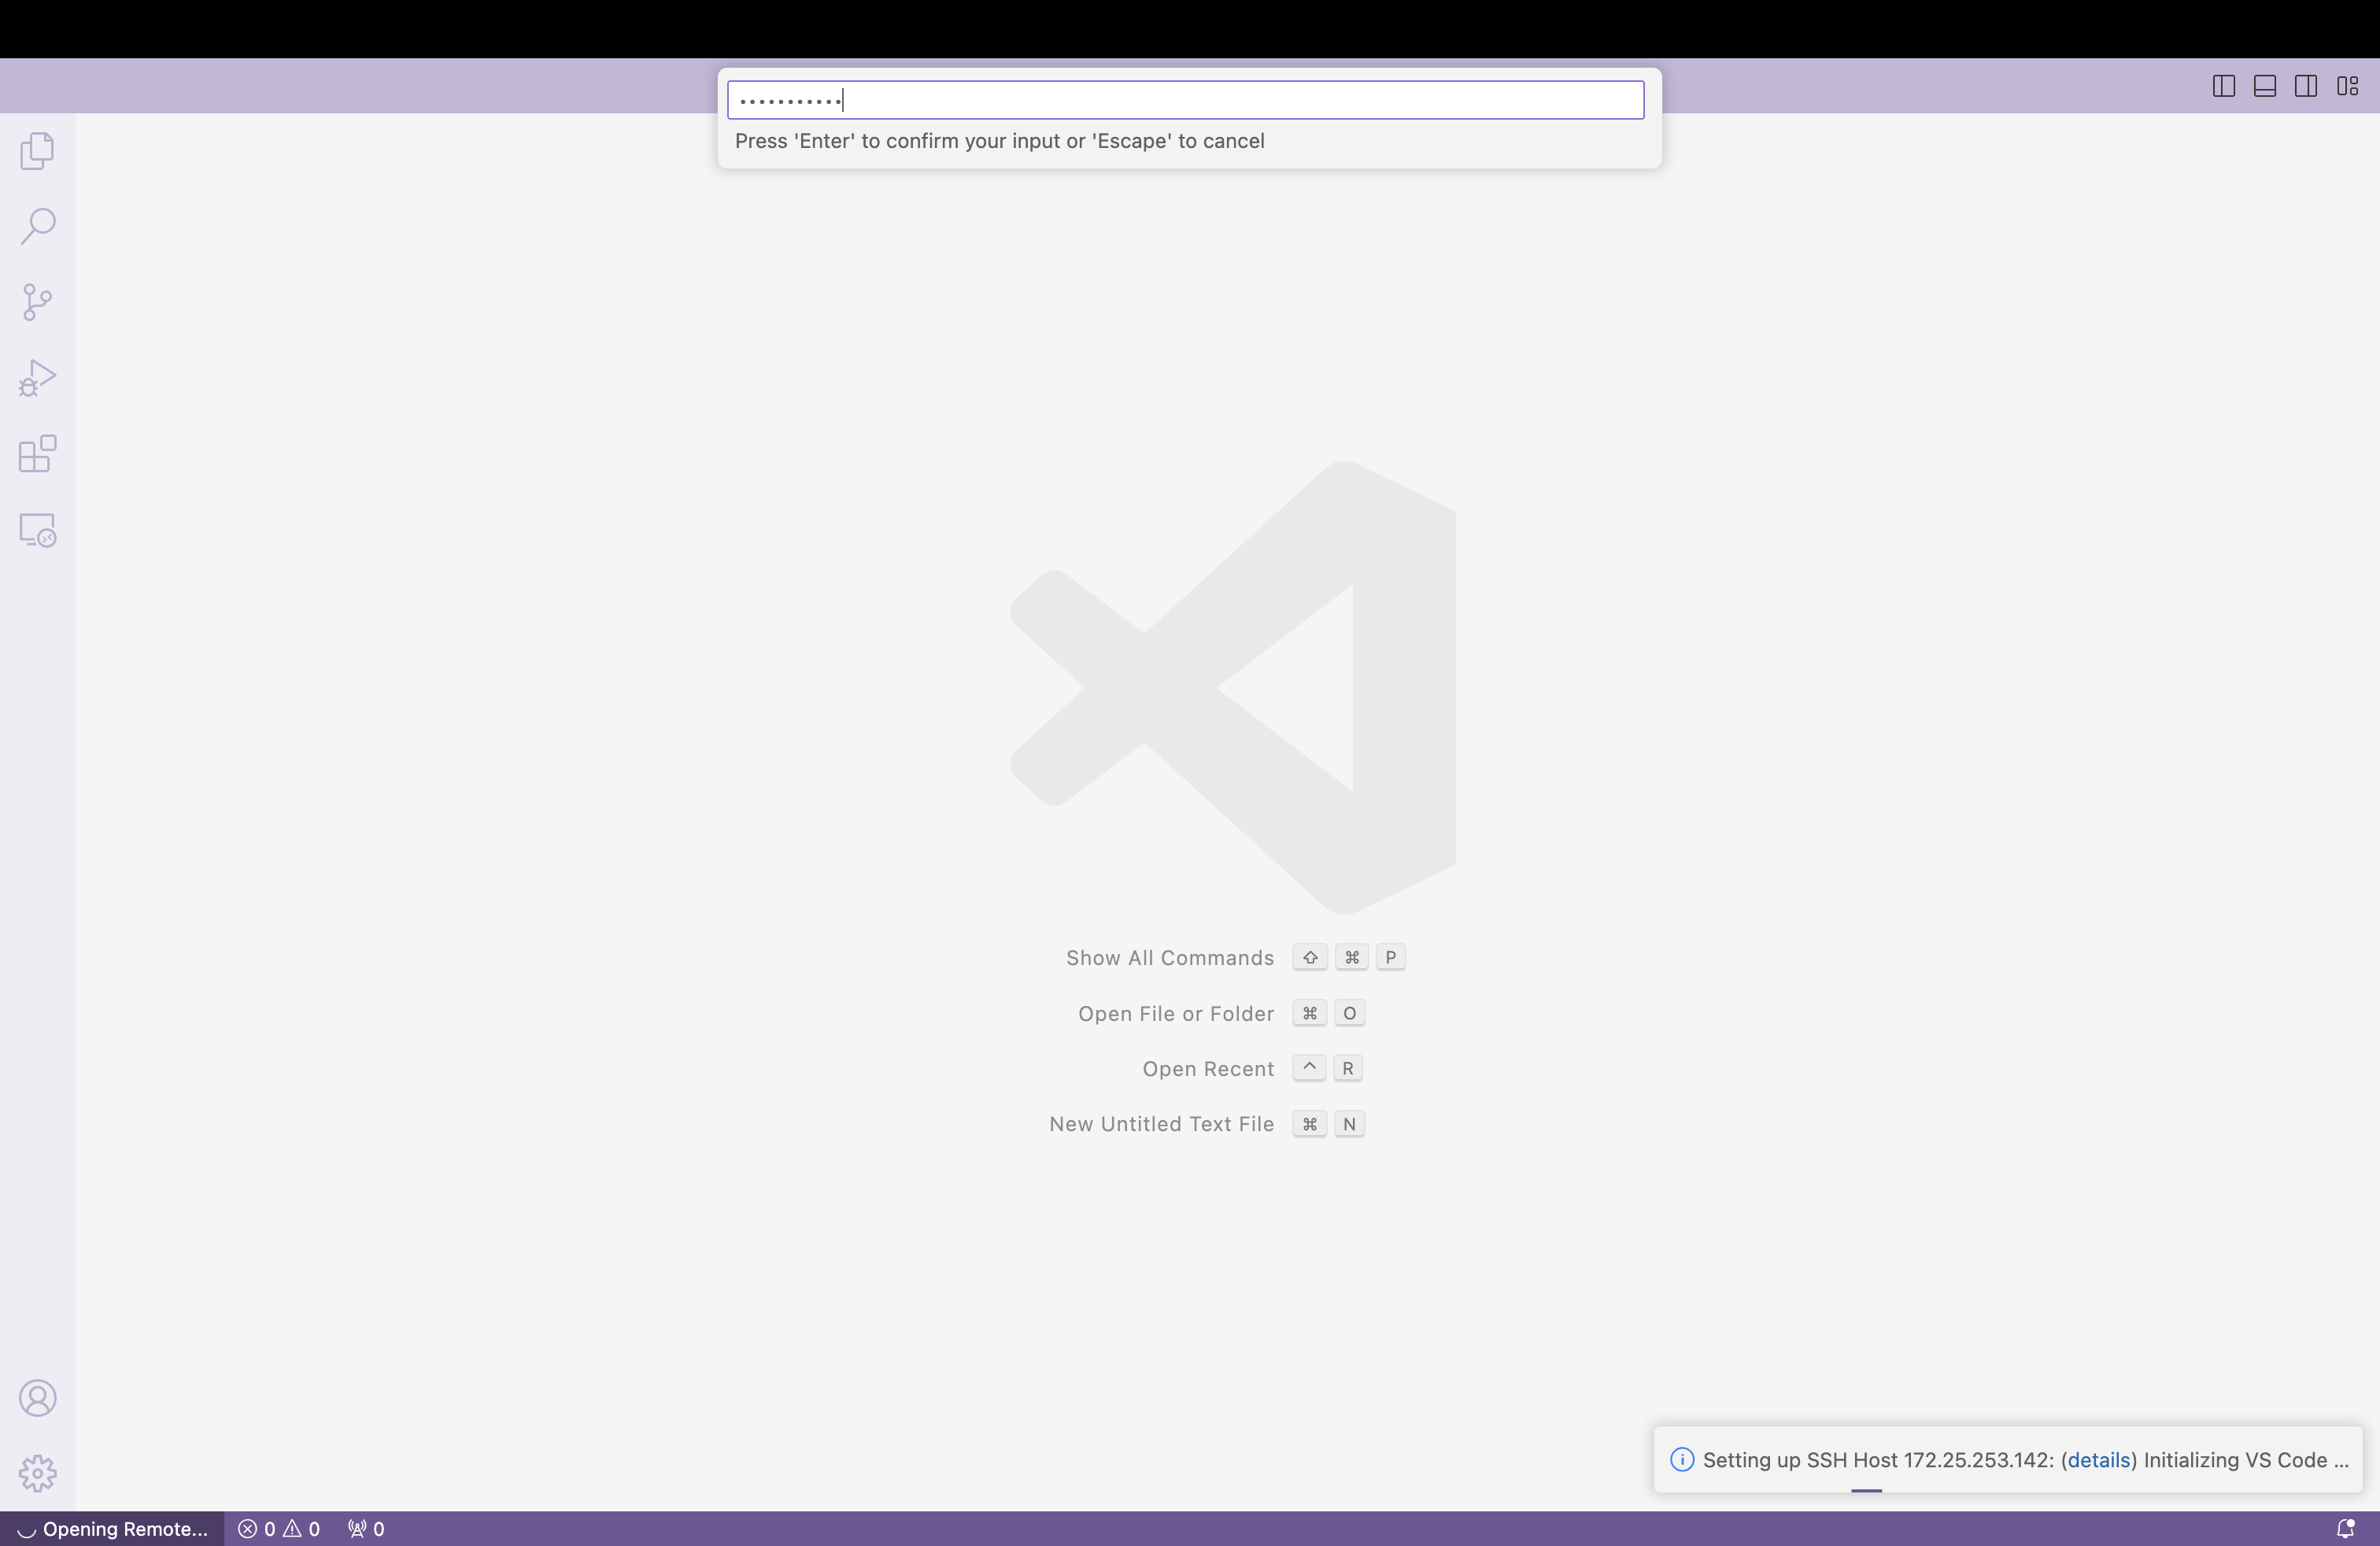
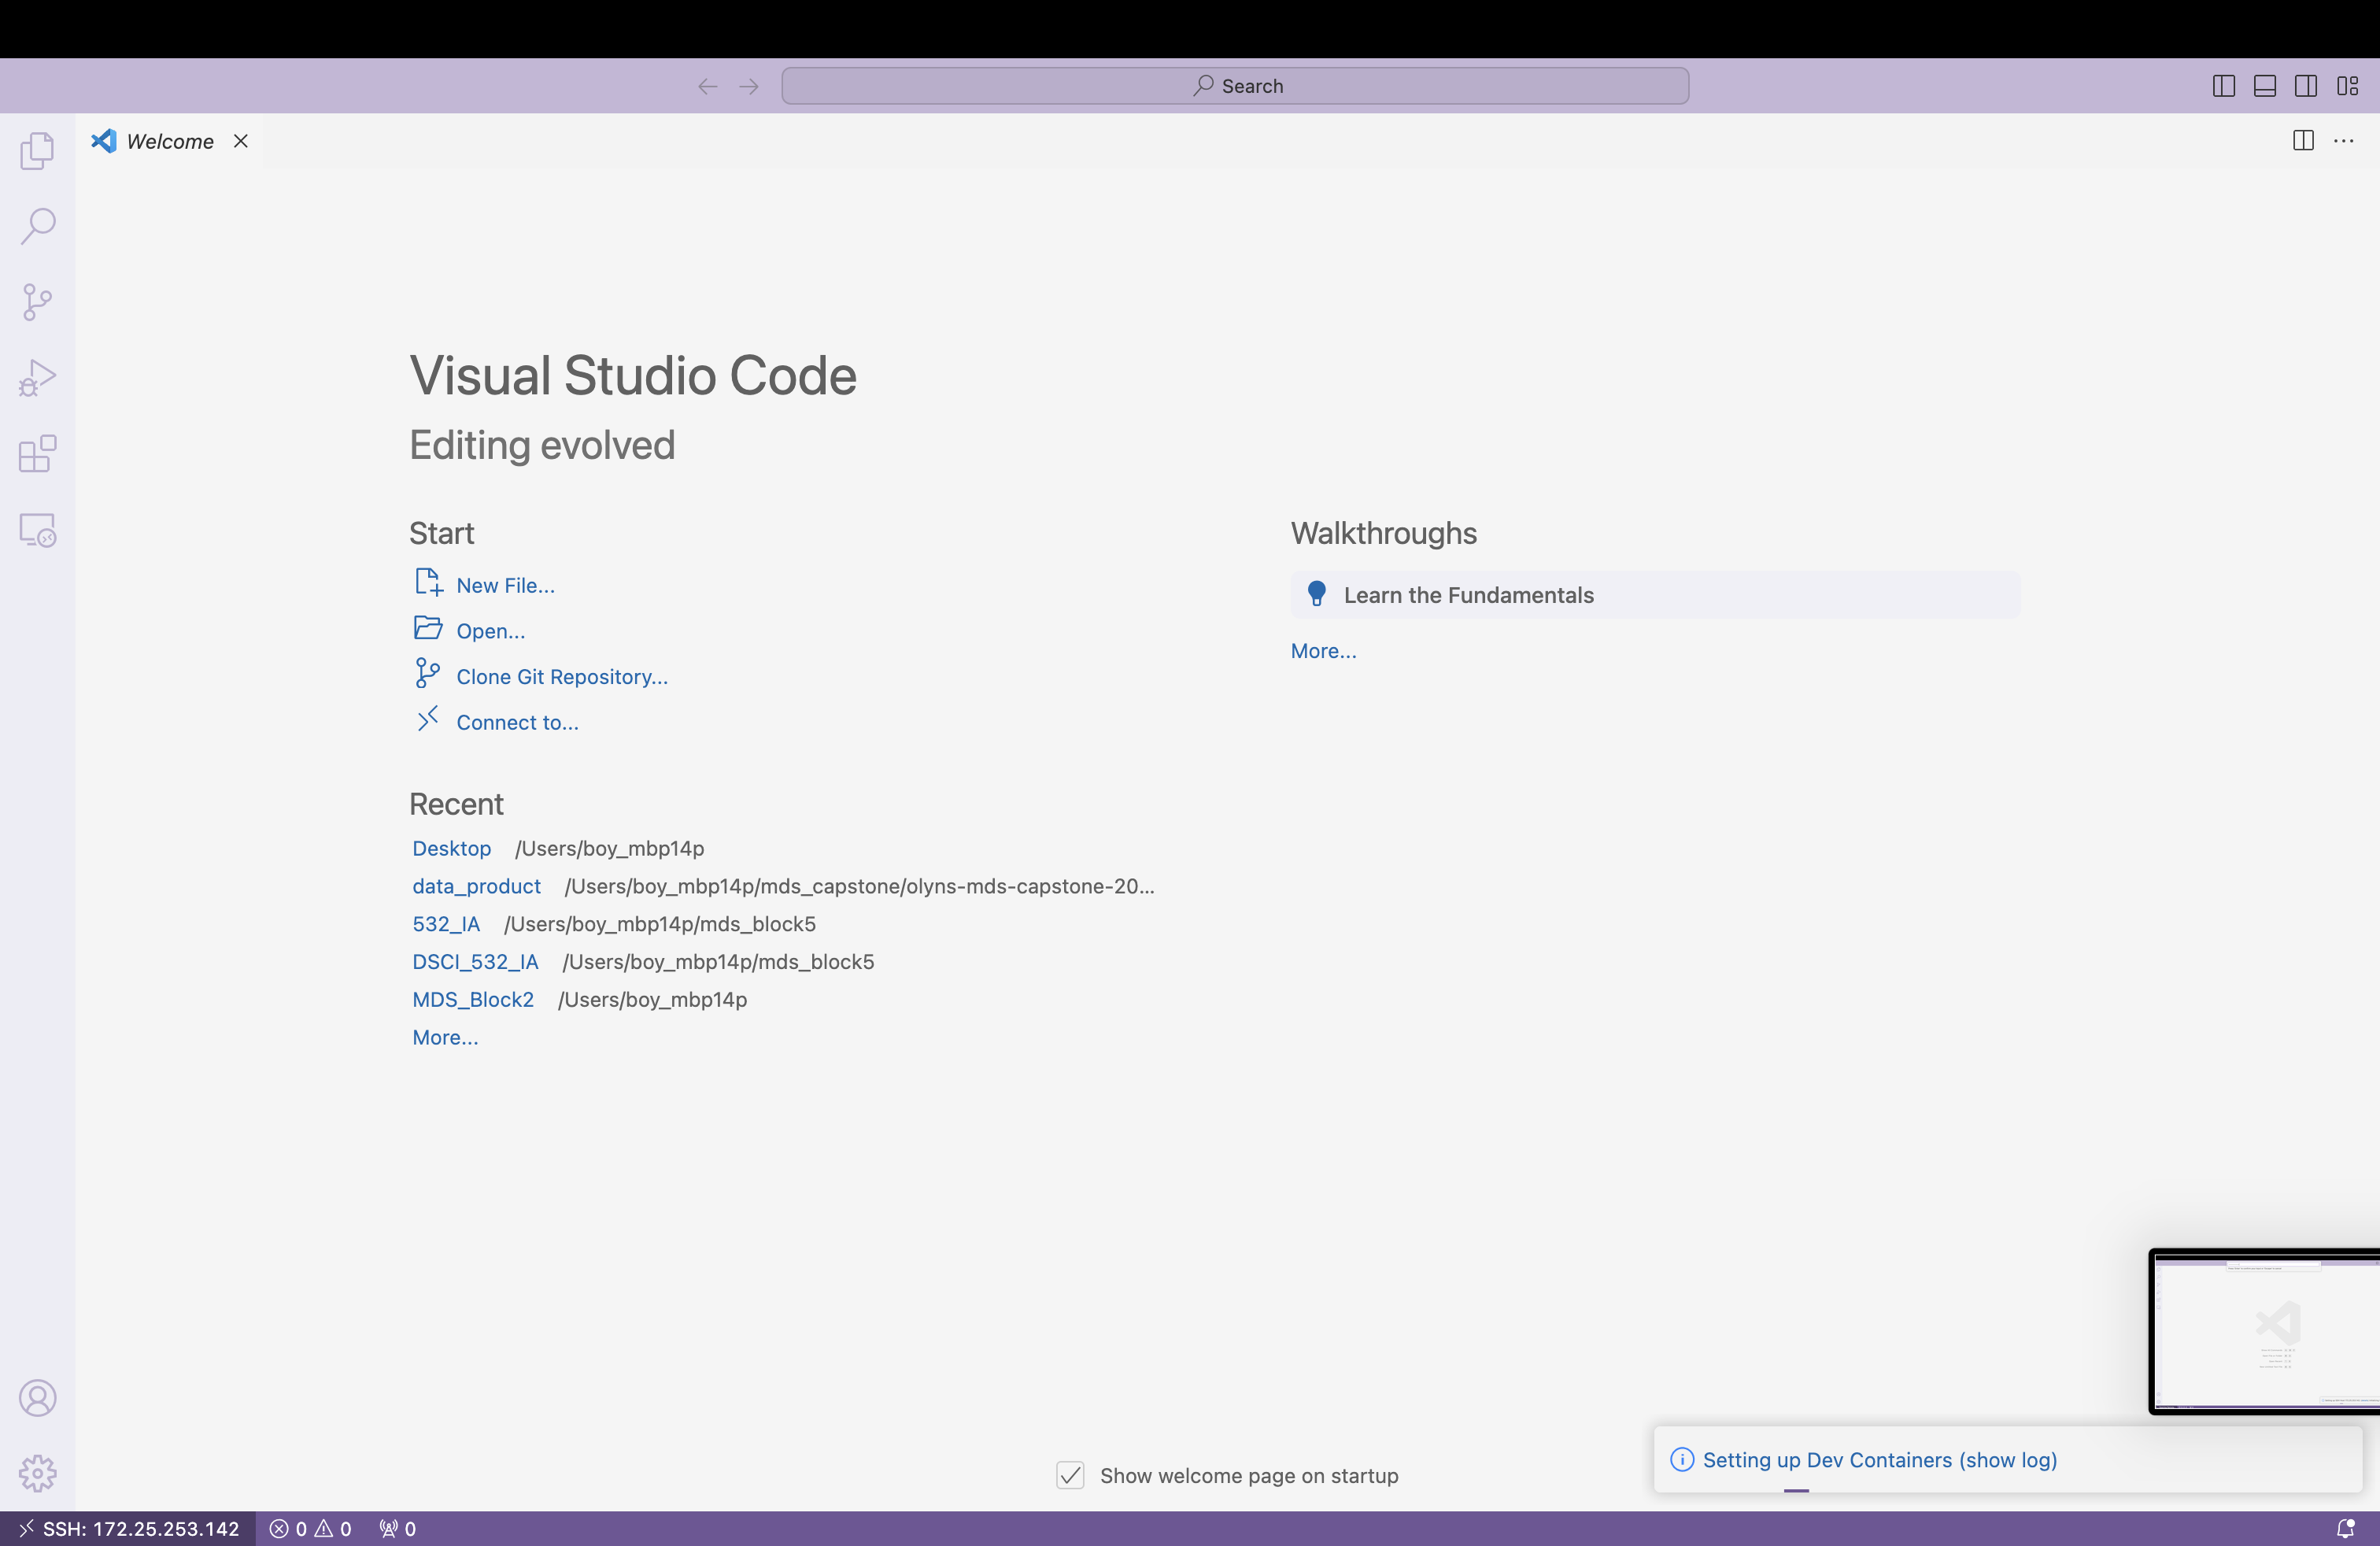
3.4 Remote-SSH
Section titled “3.4 Remote-SSH”3.4.1 Remote-SSH in VScode
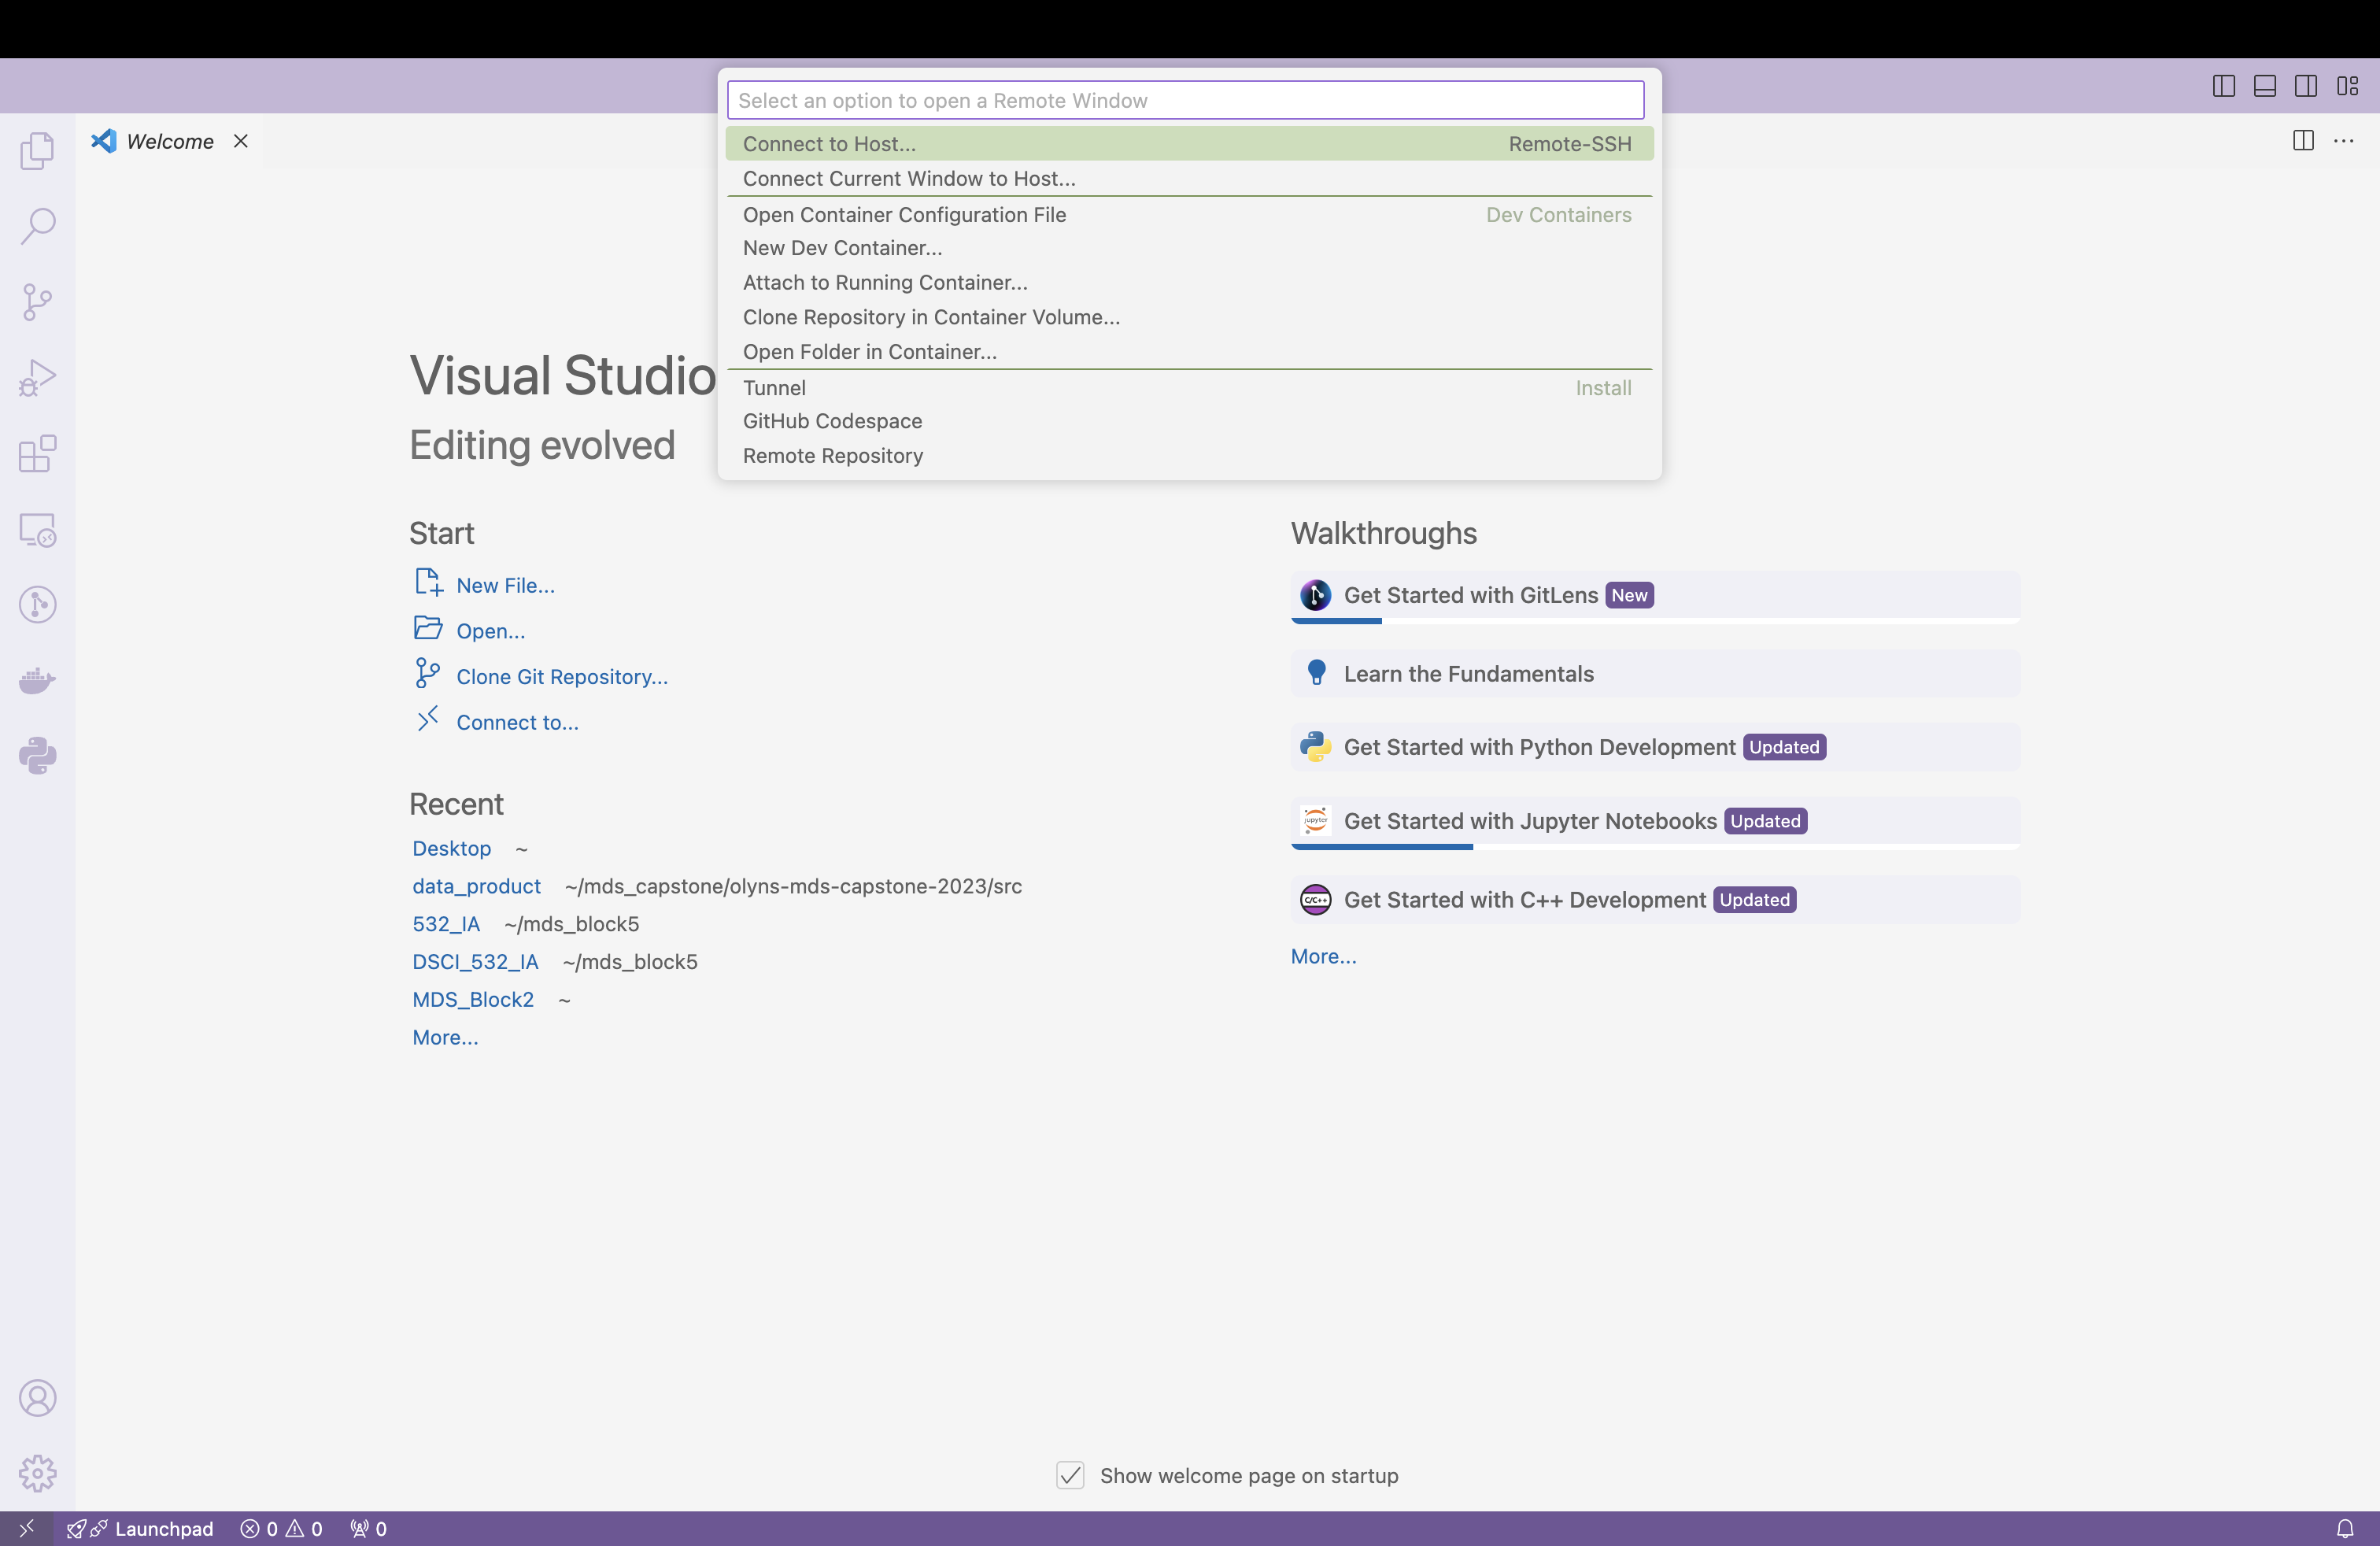
Remote-SSH in VSCode allows you to seamlessly connect to and work on a remote server directly from your local VSCode environment. With this extension, you can open a folder or workspace on a remote machine as if it were on your local machine. This is particularly useful for working on projects that require more powerful hardware or specific configurations, such as ML projects. By connecting via Remote-SSH, you can code, debug, and manage files on the server without leaving your familiar VSCode interface, making remote development more efficient and convenient.
You can follow the set up in this video.
Here is my remote-SSH connection.
3.4.2 Remote-SSH in Cursor
It might be because I installed Cursor after VSCode, but all my extensions, including Remote-SSH, were automatically duplicated in Cursor. As a result, I didn’t need to install the Remote-SSH extension separately. I was able to connect to my server using Remote-SSH in Cursor with the same steps I used in VSCode.
You can also set up Remote-SSH in Cursor directly with this method by Terry.
3.5 Git Setup
Section titled “3.5 Git Setup”Once you already connect to your server via Remote-SSH, config the Github configuration file with your Eon Labs Github account as below,
git config --global user.name "nateeonlabs"
git config --global user.emailnateeonlabs.com
git config --list --global